Greenplum Migration
Demo Video

Before you Begin
Ensure that you launch the main Cloud Formation template from here.
Capture the following parameters from the launched main CloudFormation template as you will use them in the demo.
https://console.aws.amazon.com/cloudformation/home?region=us-east-1#/stacks?filteringText=&filteringStatus=active&viewNested=true&hideStacks=false
- EC2DeveloperPassword
- EC2HostName
- RedshiftClusterDatabase
- RedshiftClusterEndpoint
- RedshiftClusterPassword
- RedshiftClusterPort
- RedshiftClusterUser
- VpcId
- SecurityGroup
- SubnetAPublic
- VirtualPrivateCloud
- TaskDataBucketName
After you confirmed that the main cluster is launched and captured the required paramters, click the Launch Stack icon below to deploy Greenplum on Ubuntu server. Please note that this is only needed if you are performing the Greenplum Migration demo for a customer. When launching the CloudFormation template, enter the below details captured from main CloudFormation template.
VPC: <<VpcId>>
SubnetAPublic: <<SubnetAPublic>>
SecurityGroup: <<SecurityGroup>>
Capture the following parameters from the launched Greenplum CloudFormation template as you will use them in the demo.
https://console.aws.amazon.com/cloudformation/home?region=us-east-1#/stacks?filteringText=&filteringStatus=active&viewNested=true&hideStacks=false
From Greenplum Cluster:
- GreenplumDatabaseName
- GreenplumDatabaseUser
- GreenplumDatabaseUserPassword
- GreenplumServerPort
- GreenplumServerPrivateIp
Client Tool
If you do not have a Remote Desktop client installed, you can use the instructions at this link to do so.
Challenge
Marie has been asked to migrate Red Imports’ on-premises Greenplum data warehouse to Amazon Redshift in their AWS account. Marie will need to convert the DDL structures into Redshift and perform full load from Greenplum to Redshift. Marie will accomplish these tasks by doing the following:

Convert the Schema
| Say | Do | Show | |
|---|---|---|---|
|
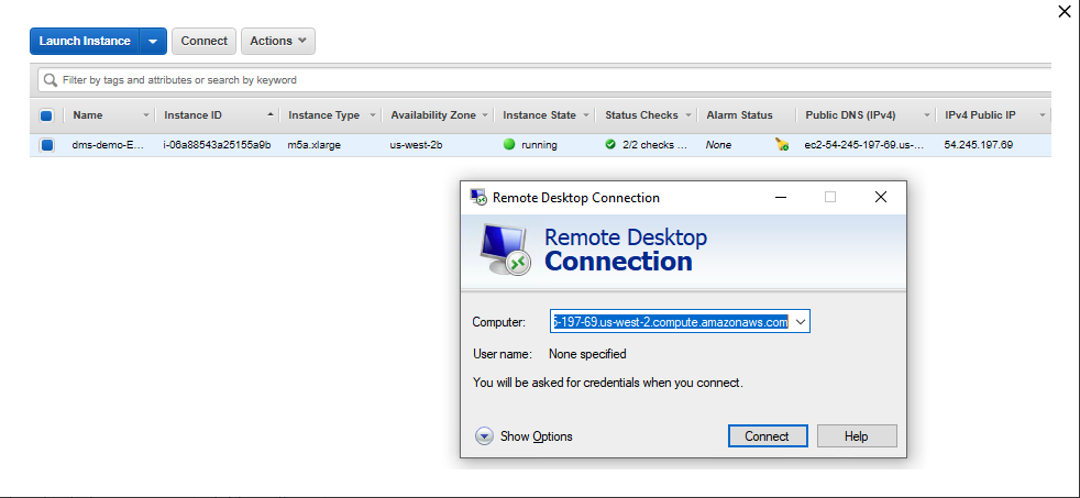
Marie logs into her workstation, in which she has already installed the required tools like schema conversion tool for the migration, SQL Workbench to connect to Redshift, SQL Workbench to connect to Greenplum. |
The Redshift Demo CloudFormation template deploys a Windows EC2 instance, with required drivers and softwares for AWS SCT, SQL Workbench. Connect to that EC2 instance using Remote Desktop client. |
|
|
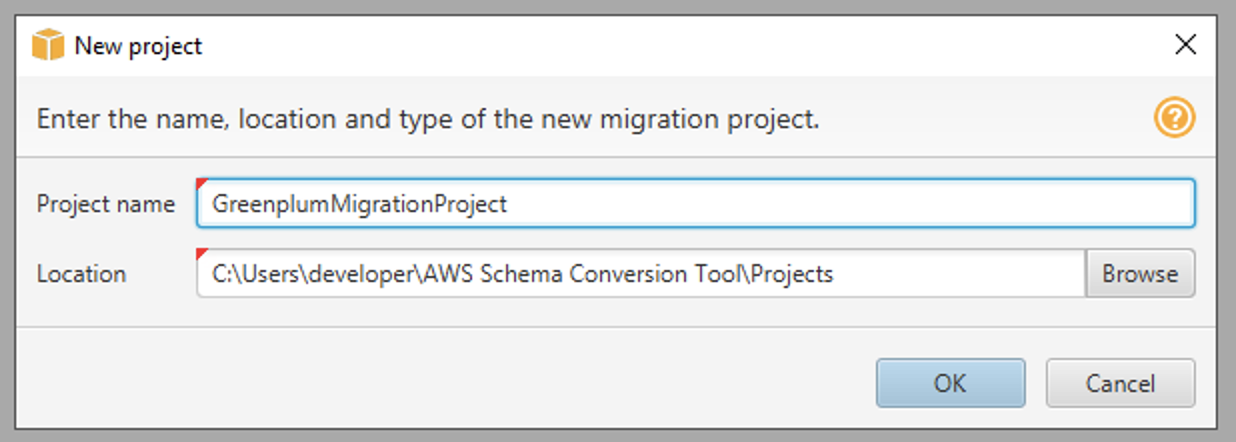
| Once logged in, she opens AWS Schema Conversion Tool (SCT) and then creates a new project. |
Open AWS SCT using the shortcut, accept license agreement if prompted, and create a new project.
|
|
|
| Now she needs to configure the connectivity for Greenplum database |
Click Click |
|
|
| Now, she needs to configure the connectivity for the target system, Redshift |
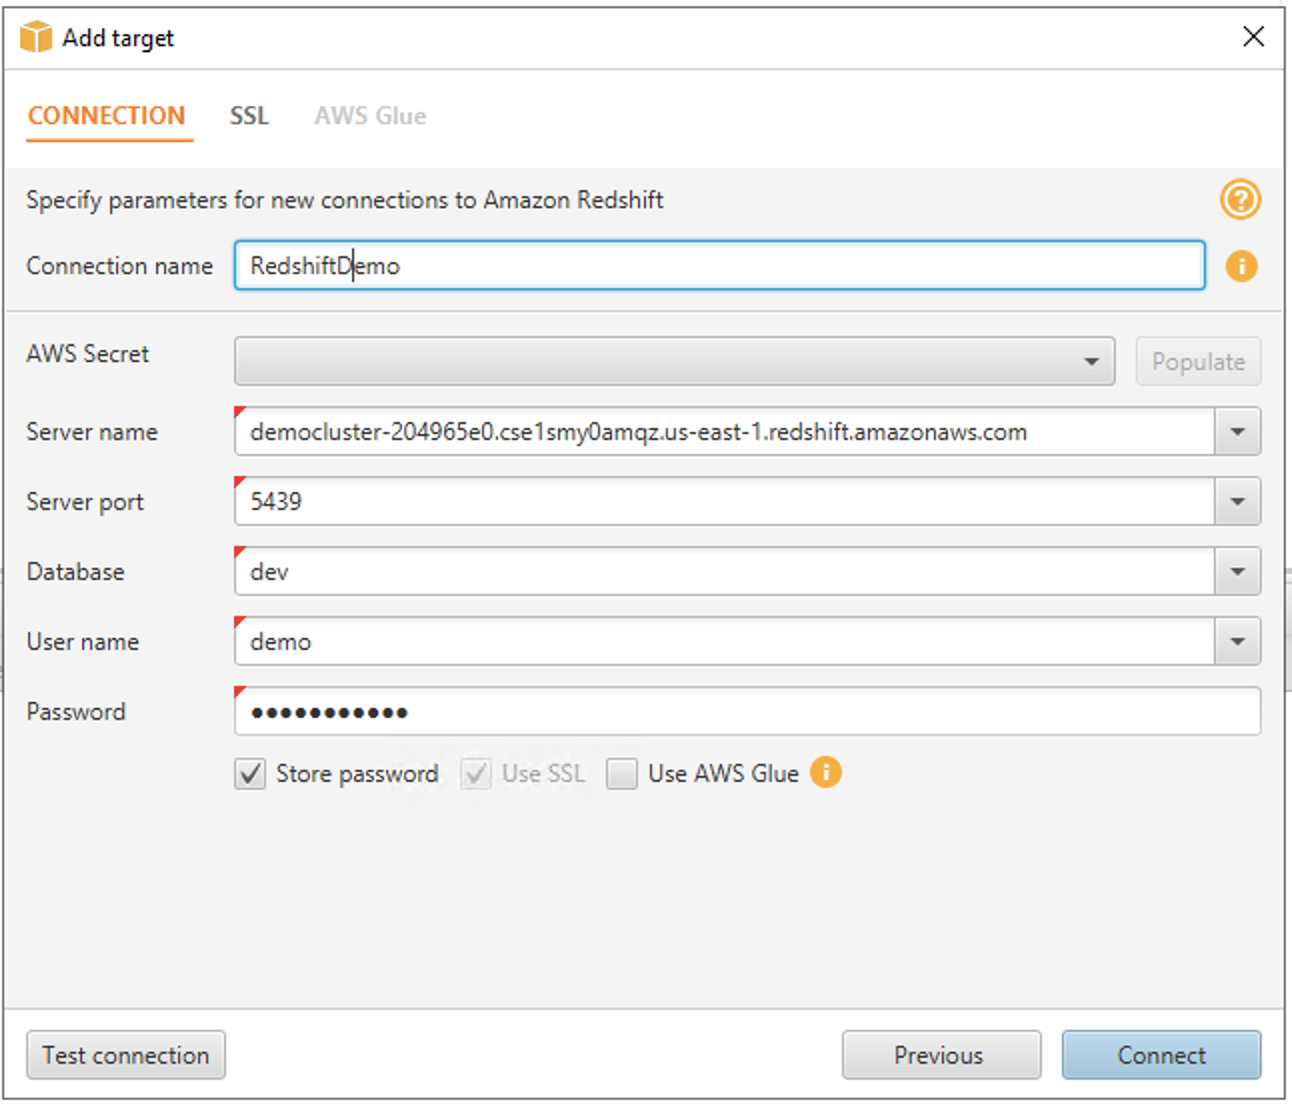
Click Click |
|
|
| Marie wants to convert the tpcds and tpch schemas and to do so, she must creating mappings from Greenplum to Redshshift for both schemas. |
On the left, expand the Schemas under Greenplum and check both |


|
|
|
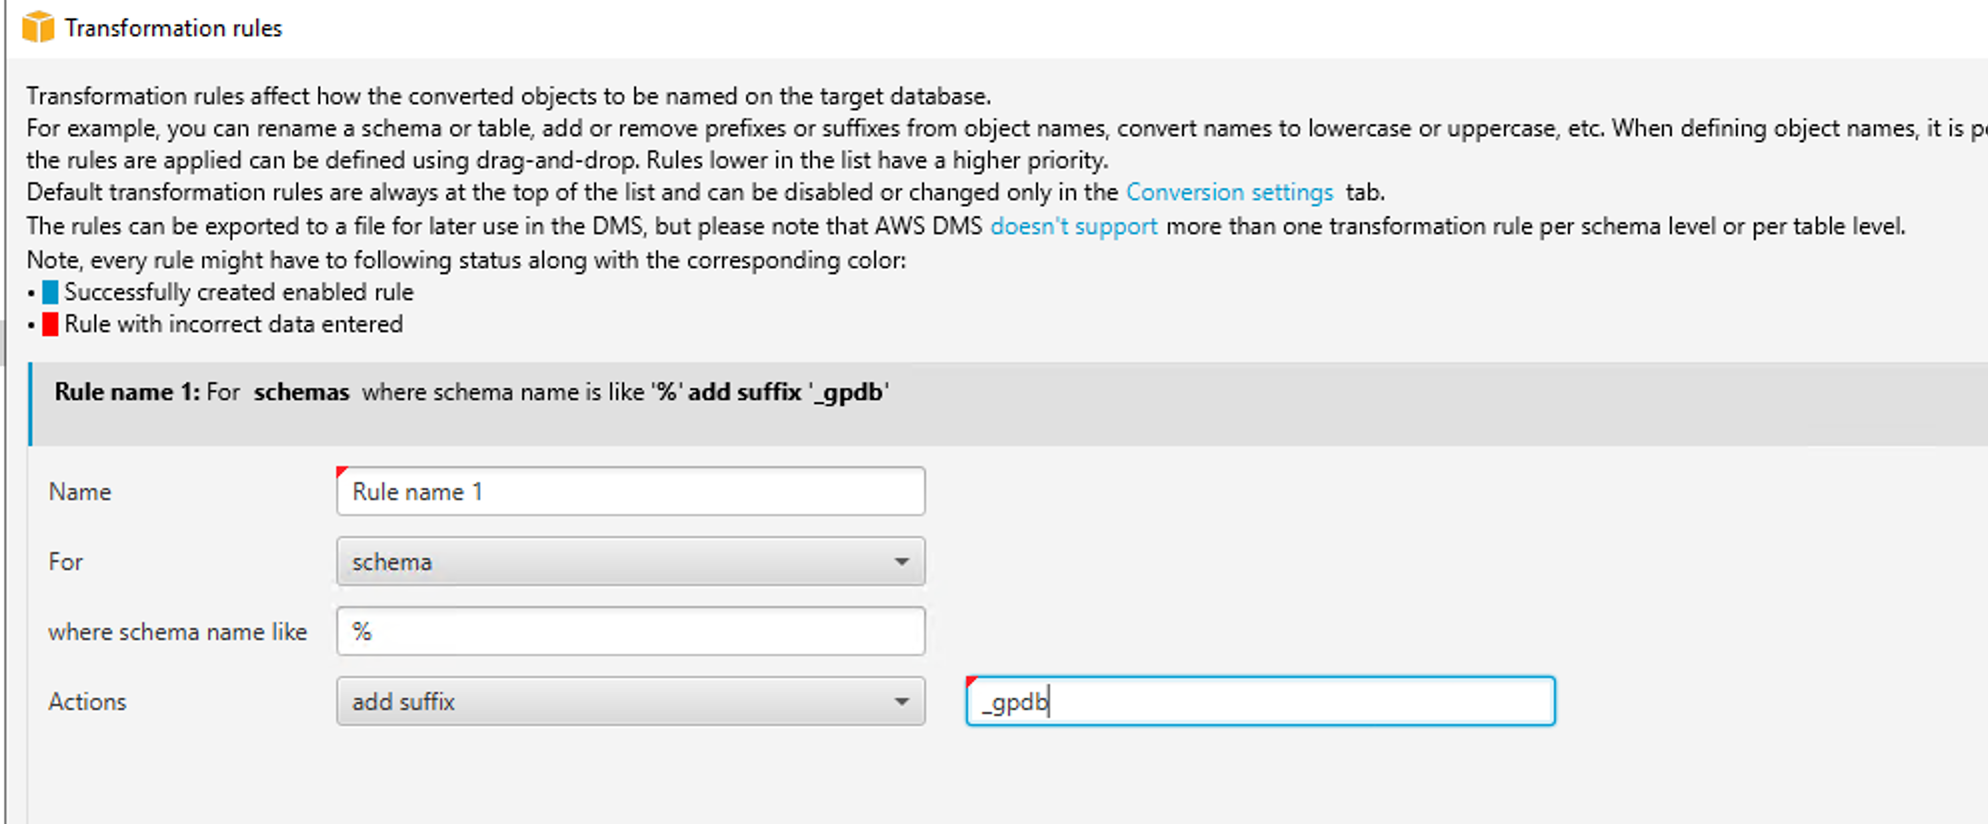
Marie wants to load these schemas into Redshift but add a suffix to the schemas to indicate the source of the data. |
Click |
|
|
|
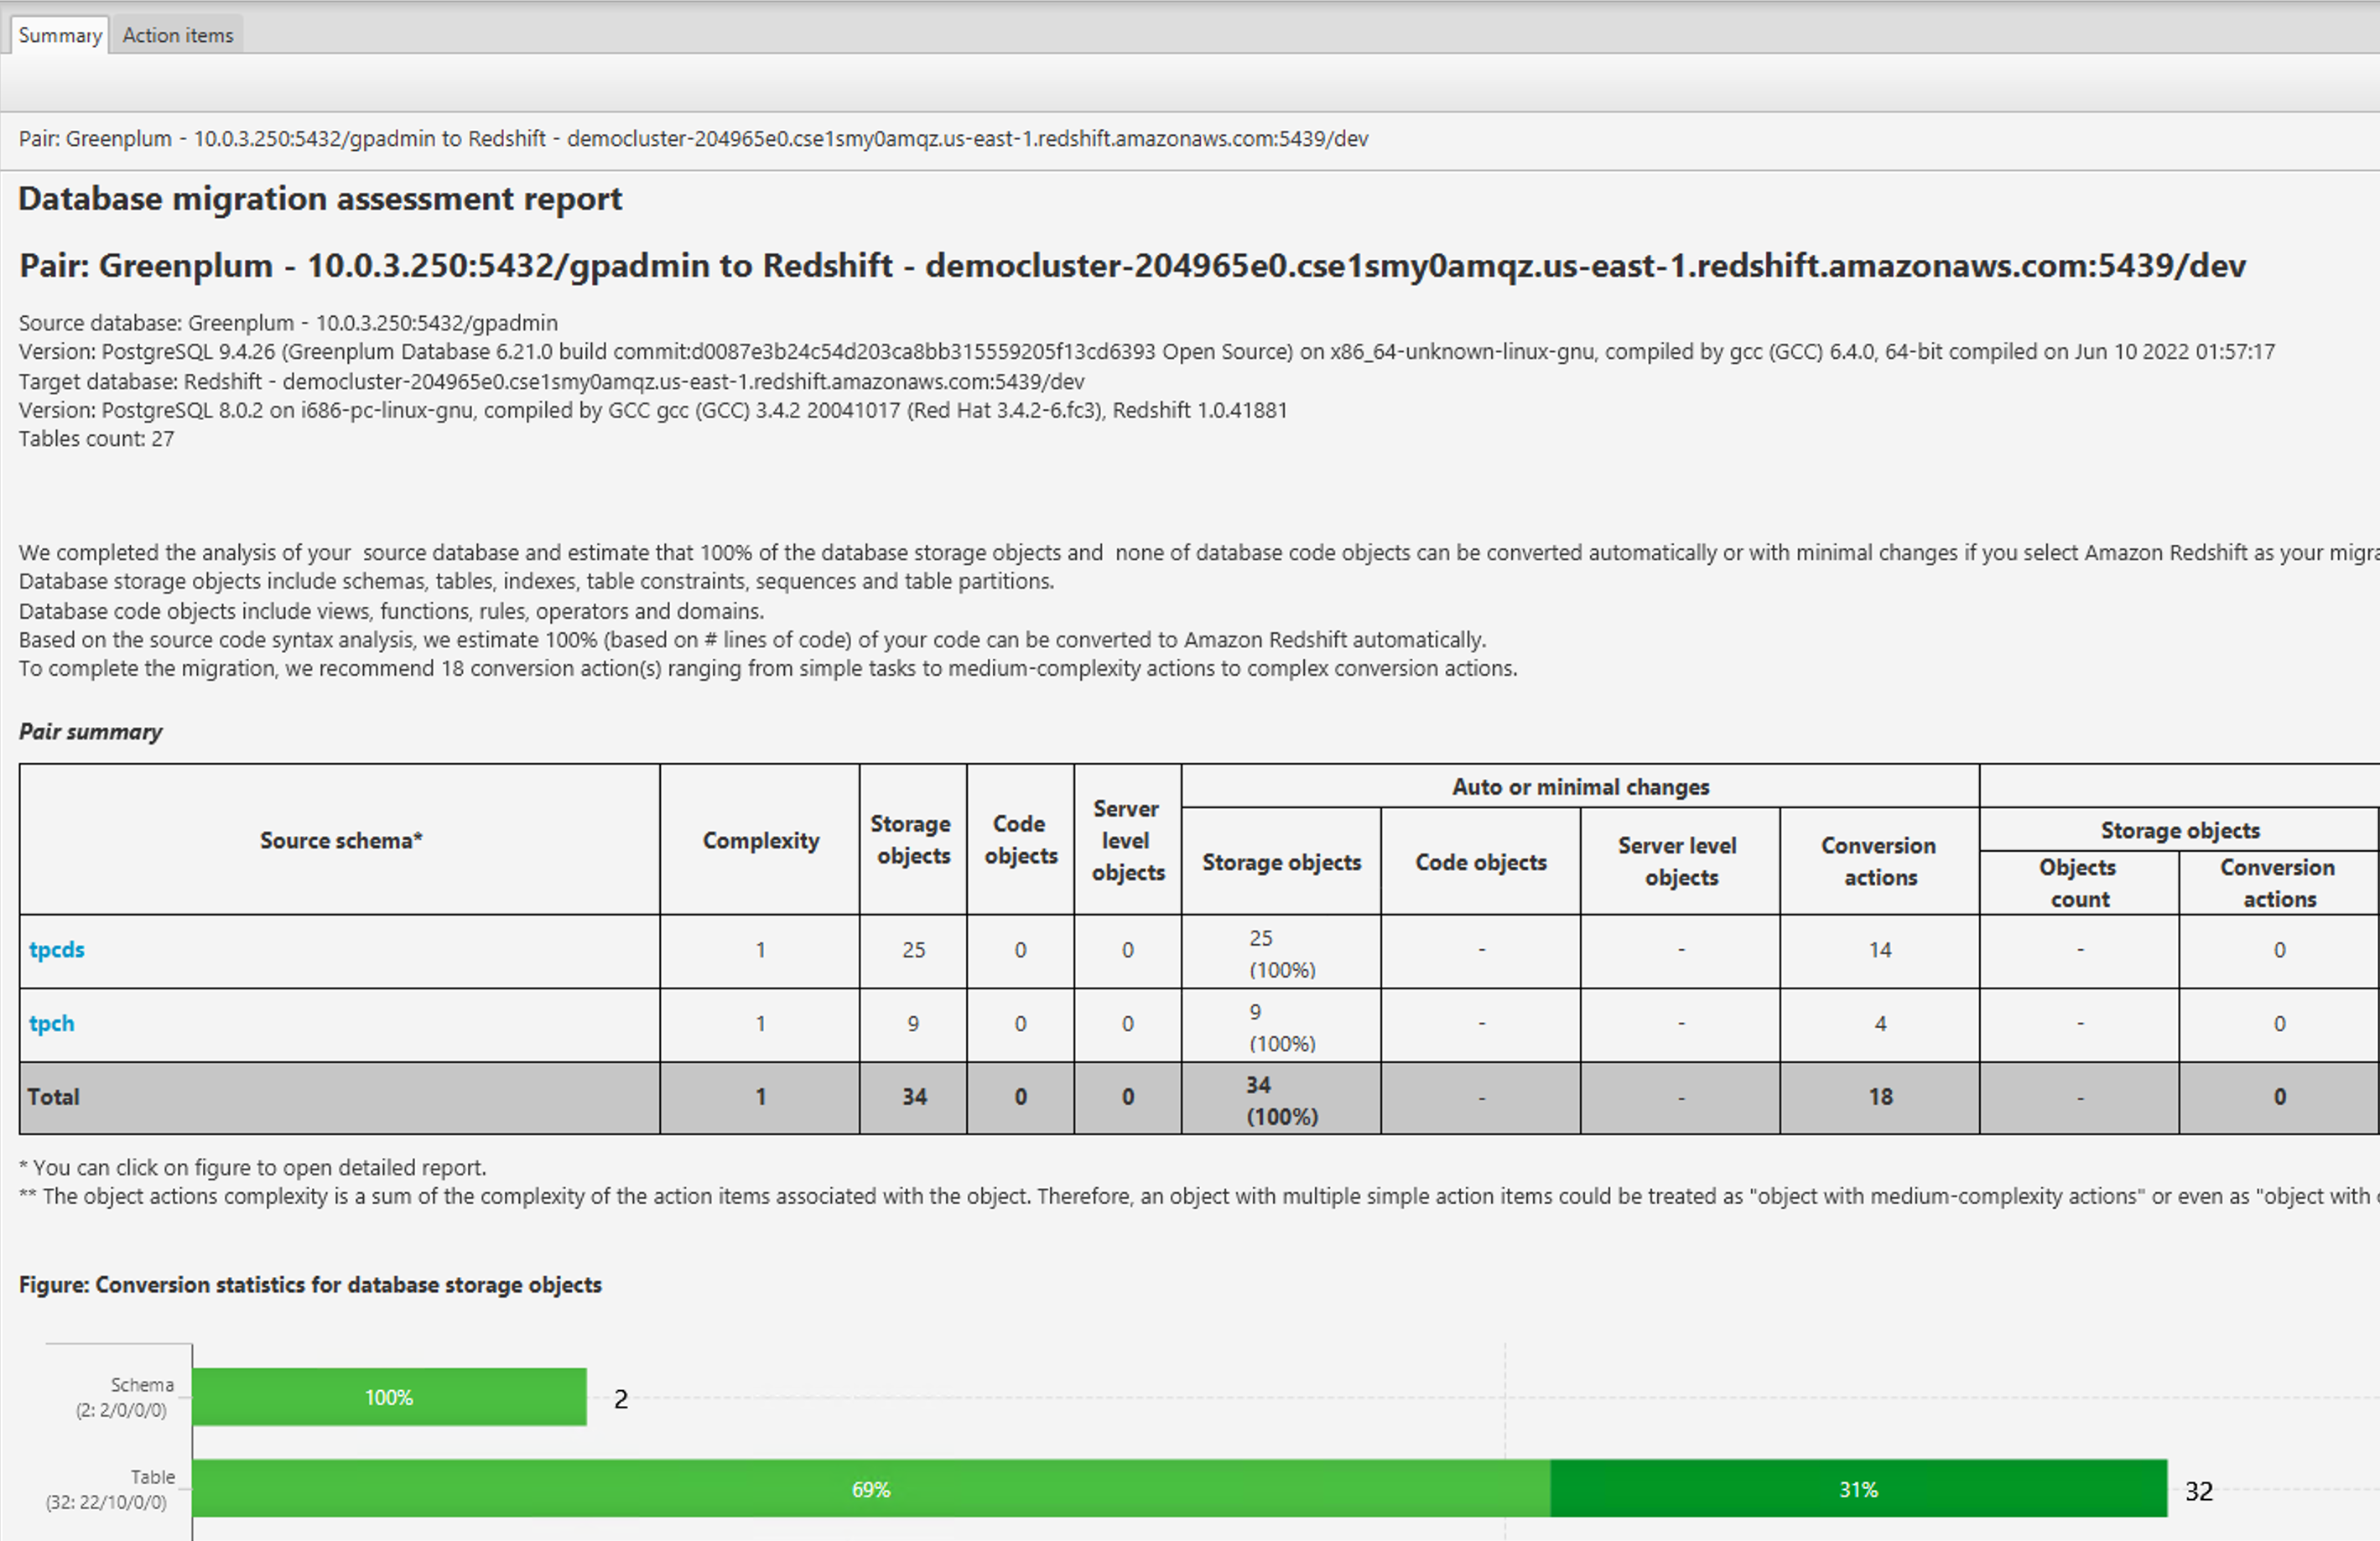
Marie wants to assess the level of complexity to migrate. |
Click Mapping view and change the view to Main view. Under the Greenplm connection, right click on Schemas, choose Create report, and click Yes.
Click Assessment Report view and choose Main view. Now right click on tpch, choose Create report, and then Continue.
|
|
|
| She can now look at specific actions she would need to take for the tables/ constraints/ views that could not be migrated to Redshift. |
Migration assessment report click In the top pane you can see issues related to migrating to Redshift. |

| |
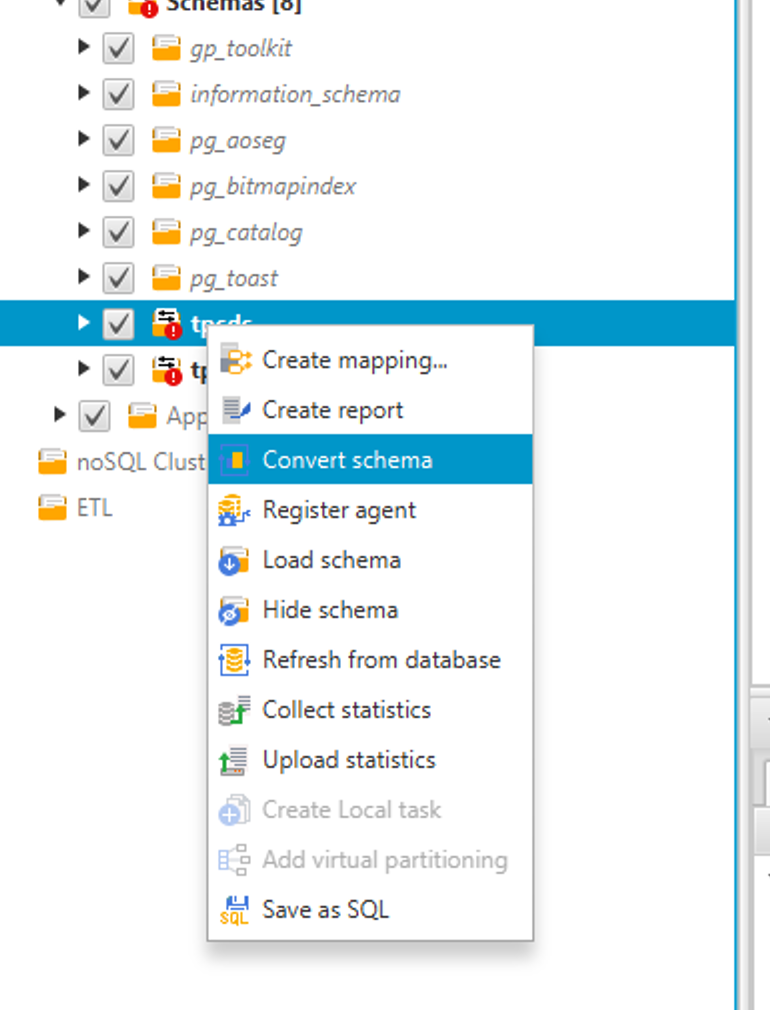
| Marie now wants to convert the Greenplum schema to Redshift. |
Click on Repeat this for the |
| |
| Marie will then configure connection profile for SCT to access S3 |
Go to Settings on top and Global Settings > AWS Service Profiles, and click + Add a new AWS service profile.
Enter the details as shown below:
Click the The user associated with the Access Key MUST have read/write access to the S3 bucket provided AND the Redshift Cluster or the migration will fail. |


| |
|
Marie is excited to now create the database objects in Redshift. |
In the right pane, right click on Repeat this again for the |

|


|
Migrate the data
| Say | Do | Show |
|---|---|---|
|
Marie will configure SCT Extractor properties file with Greenplum properties |
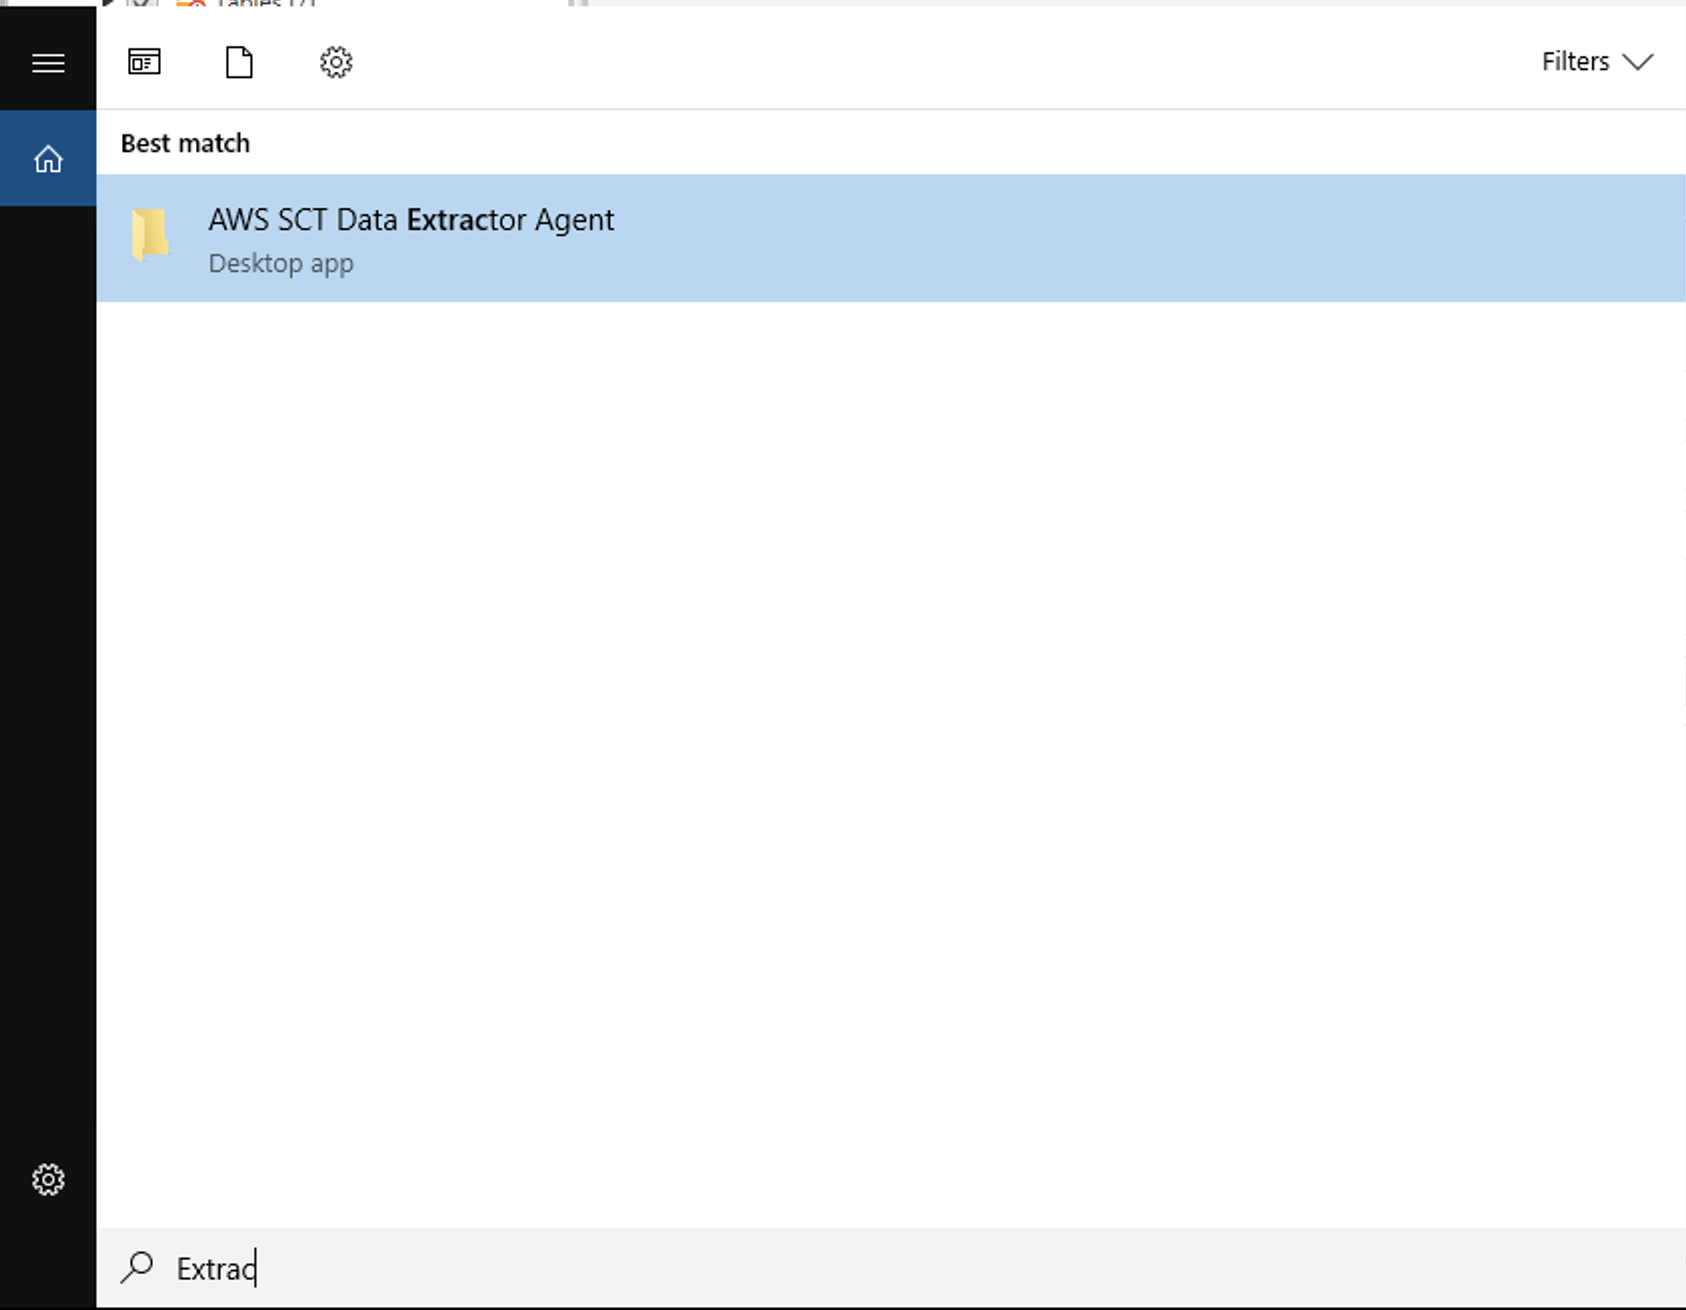
Search for AWS SCT Data Extractor Agent in Start and Click on it
Right click on StartAgent.bat and select Run as Administrator to start the agent.
|

|
|
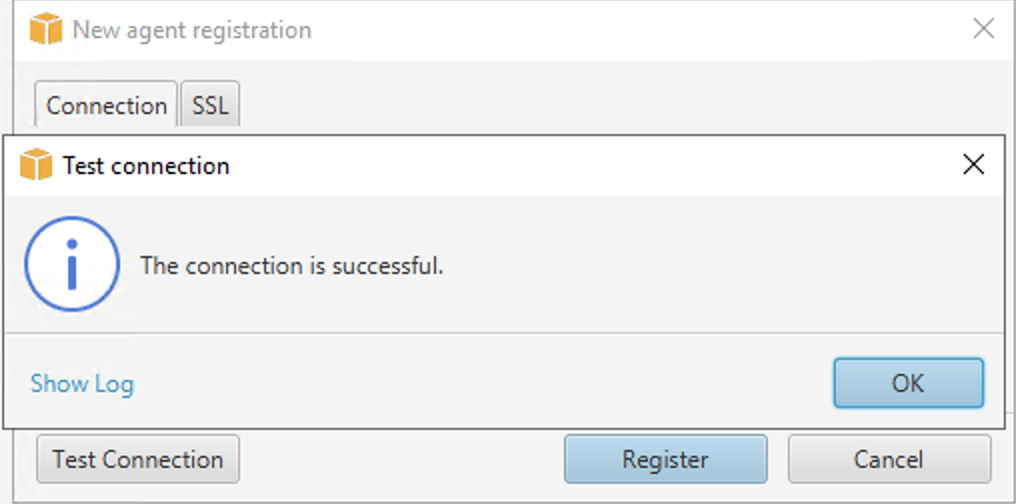
Marie, will now configure the SCT-extractor to perform one time data move. When dealing with large volume of data multiple extractors can be used for migrating data. She will register the SCT-extractor to the SCT tool. |
On the AWS Schema Conversion Tool, change to New agent registration screen would pop-up. Fill in the details One agent can be registered to one project at a time. To re-use same agent you will need to un-register from existing project and then register again. |

|
|
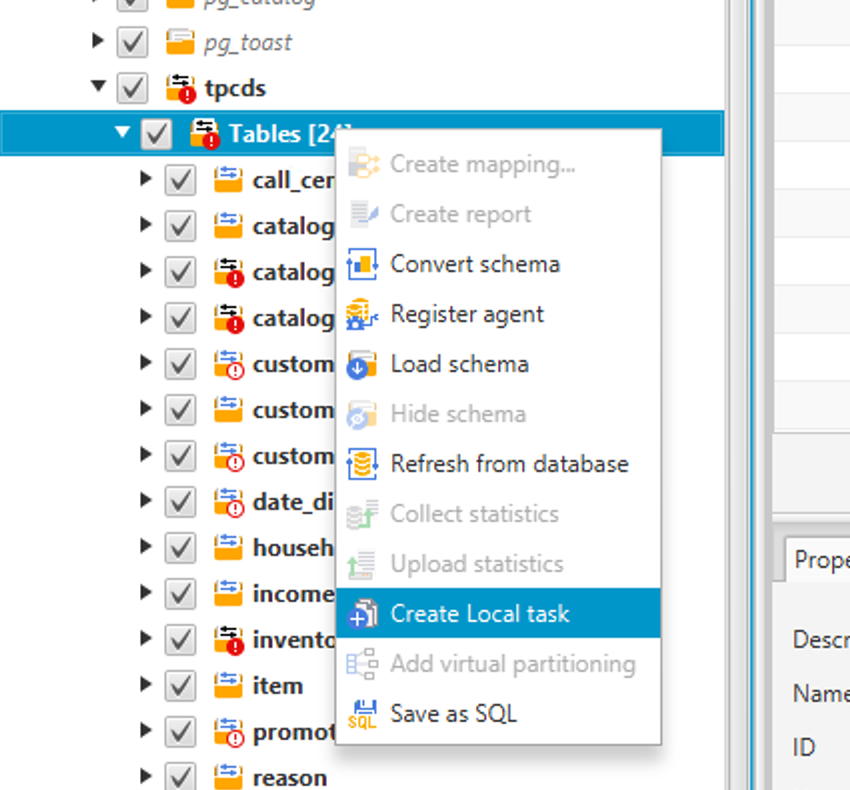
Marie will create a task for extractor to extract data into tables created on Redshift. |
On the left pane under Greenplum, expand the tpcds schema, right click tables, and then Create local task.
A window with create local task details will pop up:
Click Repeat this for |

|
|
Finally, Marie will execute the created tasks and monitor. |
Click Start on the two tasks.
|

|
|
Mary can monitor status of tasks and % complete and tables which were loaded successfully. She will also need to verify the count of records loaded in the Redshift database. |
Click each Task to get a detailed breakdown of activity completed
Note – Errors during Extract/Upload/Copy will need to be investigated.
The load takes 5 to 10 minutes to complete for this demo |

|
Before you Leave
To reset your demo, drop the tables created by executing the following SQL statement in Redshift.
drop schema tpcds cascade;
drop schema tpch cascade;
If you are done using your cluster, please think about deleting the CFN stack or to avoid having to pay for unused resources do these tasks:
- Pause your Redshift Cluster
- Stop the Greenplum Centos EC2 Instance


