Create a Data Warehouse
Demo Video

Before you Begin
Ensure you have access to the AWS Console and permissions to create a Redshift cluster
Client Tool
The screenshots for this demo will leverage the the AWS Redshift console. No other client is required for this demo. Some of these steps can be performed using awscli but the console is still required for other steps.
Challenge
Joe, who is a DBA, has been asked to set up a new data warehouse for the Human Resources (HR) team. The HR team has stated that they will be storing around 10 TB of data and will have a lot of complex queries running. Joe will create this data warehouse for the HR team using the Redshift console and will size the data warehouse with the help of the sizing wizard available on the console.To solve this challenge Joe will do the following:
Create the Data Warehouse
| Say | Do | Show |
|---|---|---|
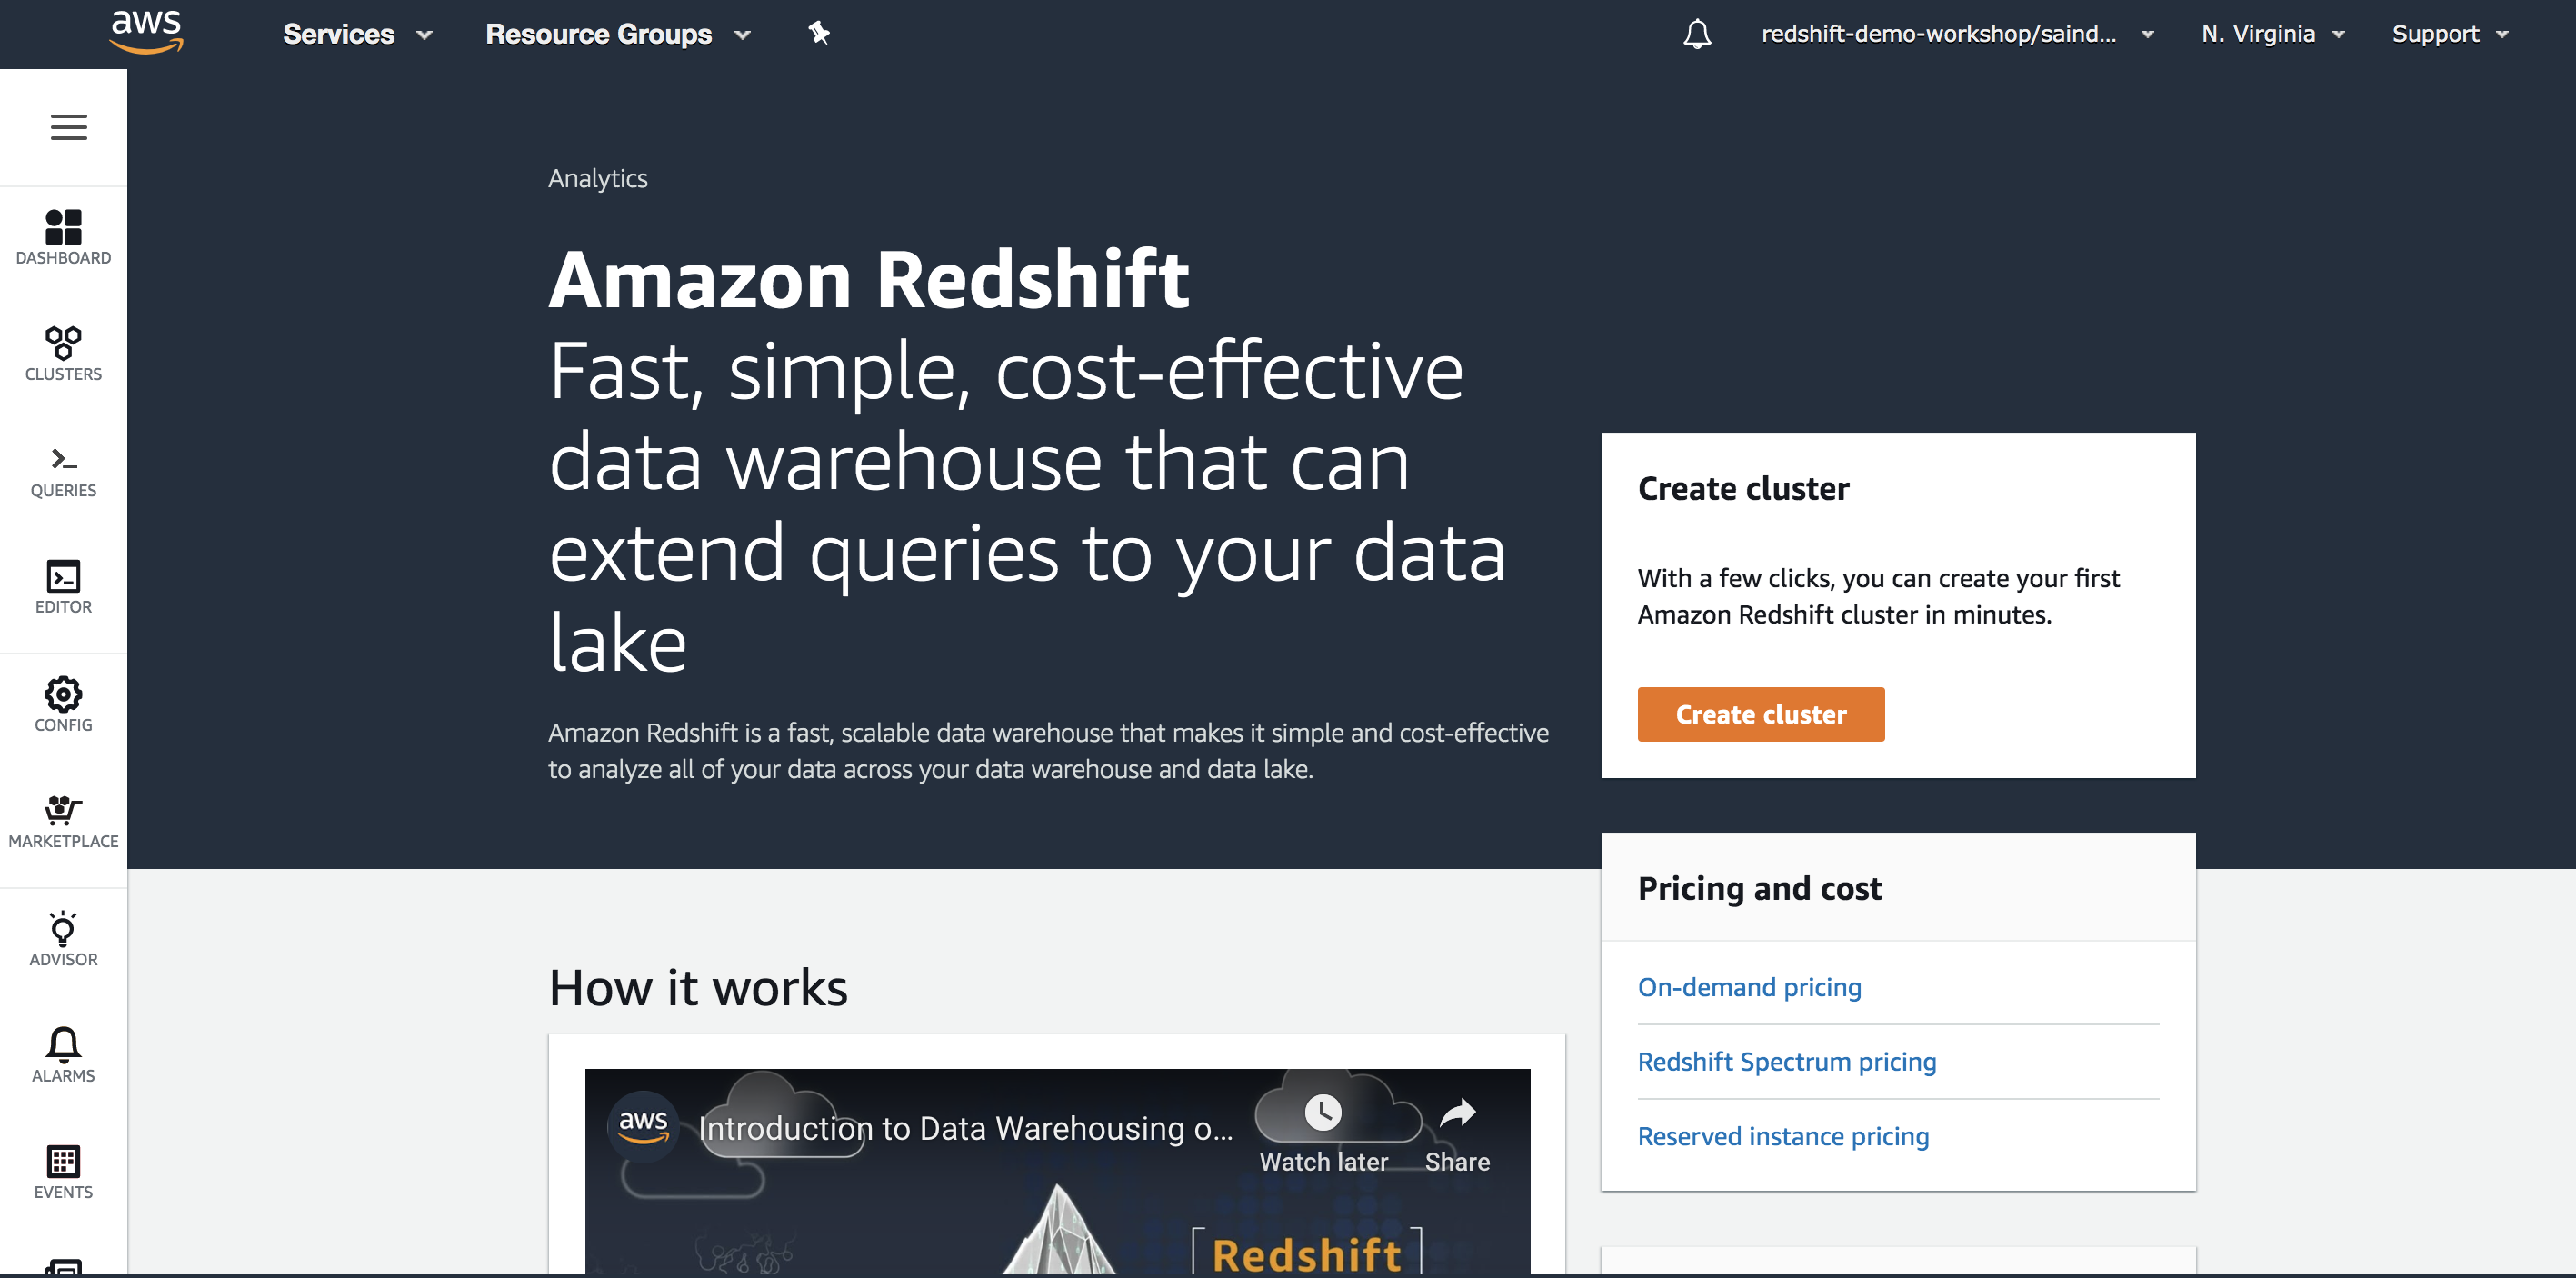
| First, let’s go to the Redshift Console | Navigate to https://console.aws.amazon.com/console/home?region=us-east-1# Type Redshift in the ‘Find Services’ search bar and press ‘Enter’ |
|
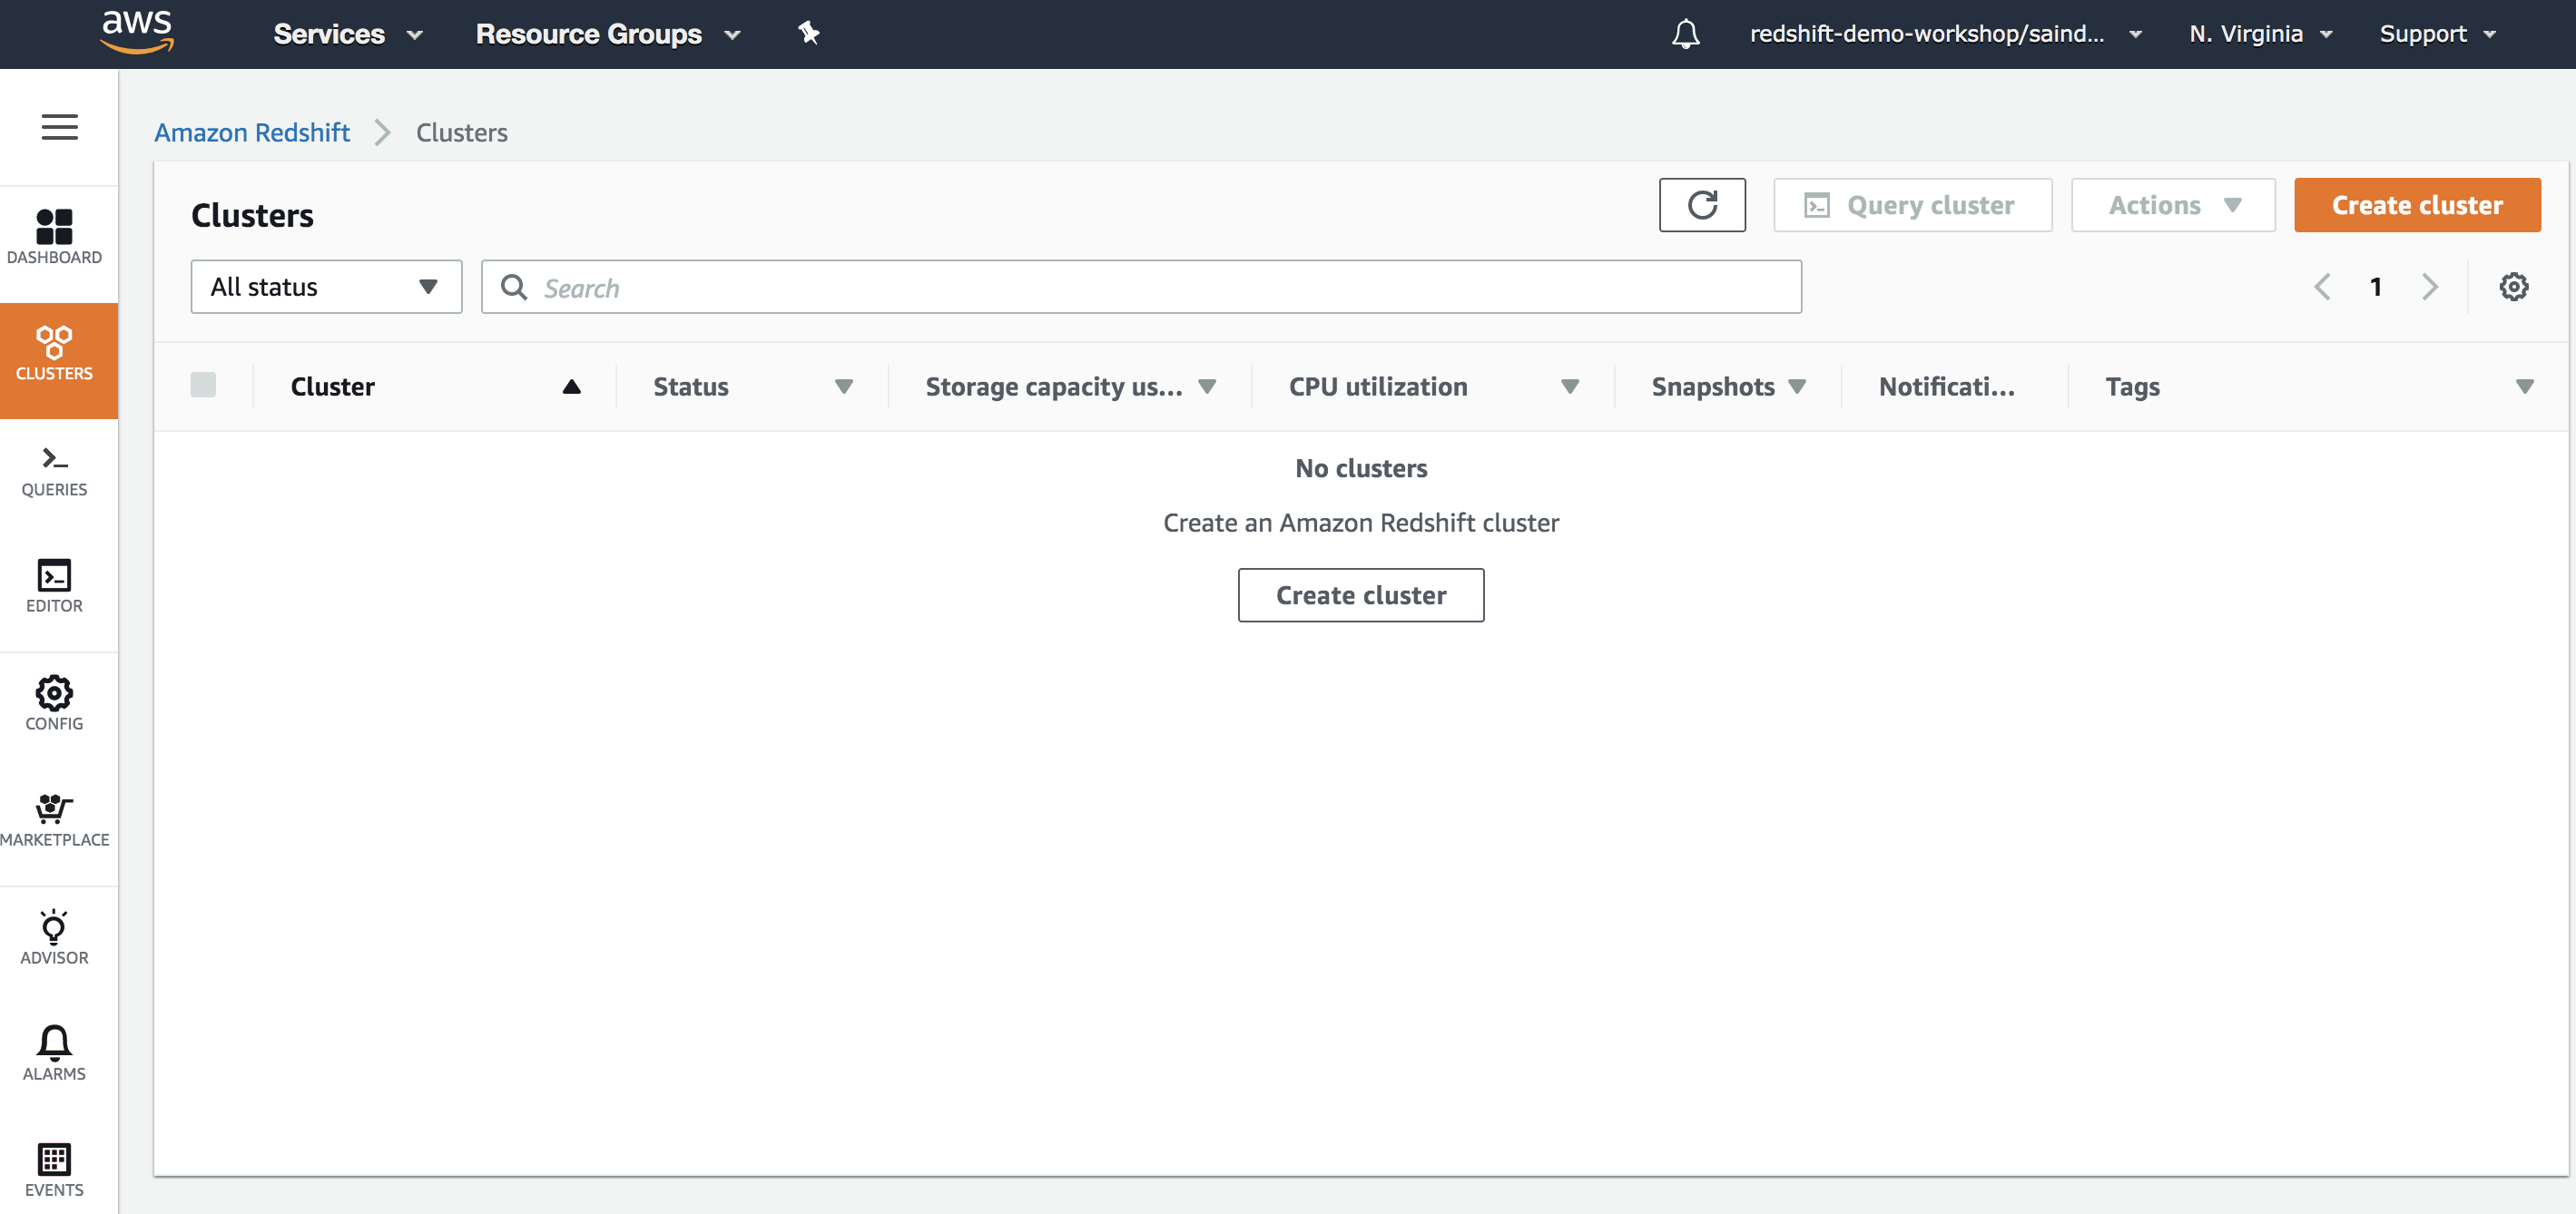
| Now, that we are on the Redshift Console, let us click on Clusters to see what Redshift cluster are running on the account | Click ‘Clusters’ on the left panel |
|
|
There are no Redshift clusters running in this account. So, let us create one for the HR team by clicking ‘Create Cluster’ | Click ‘Create Cluster’ | 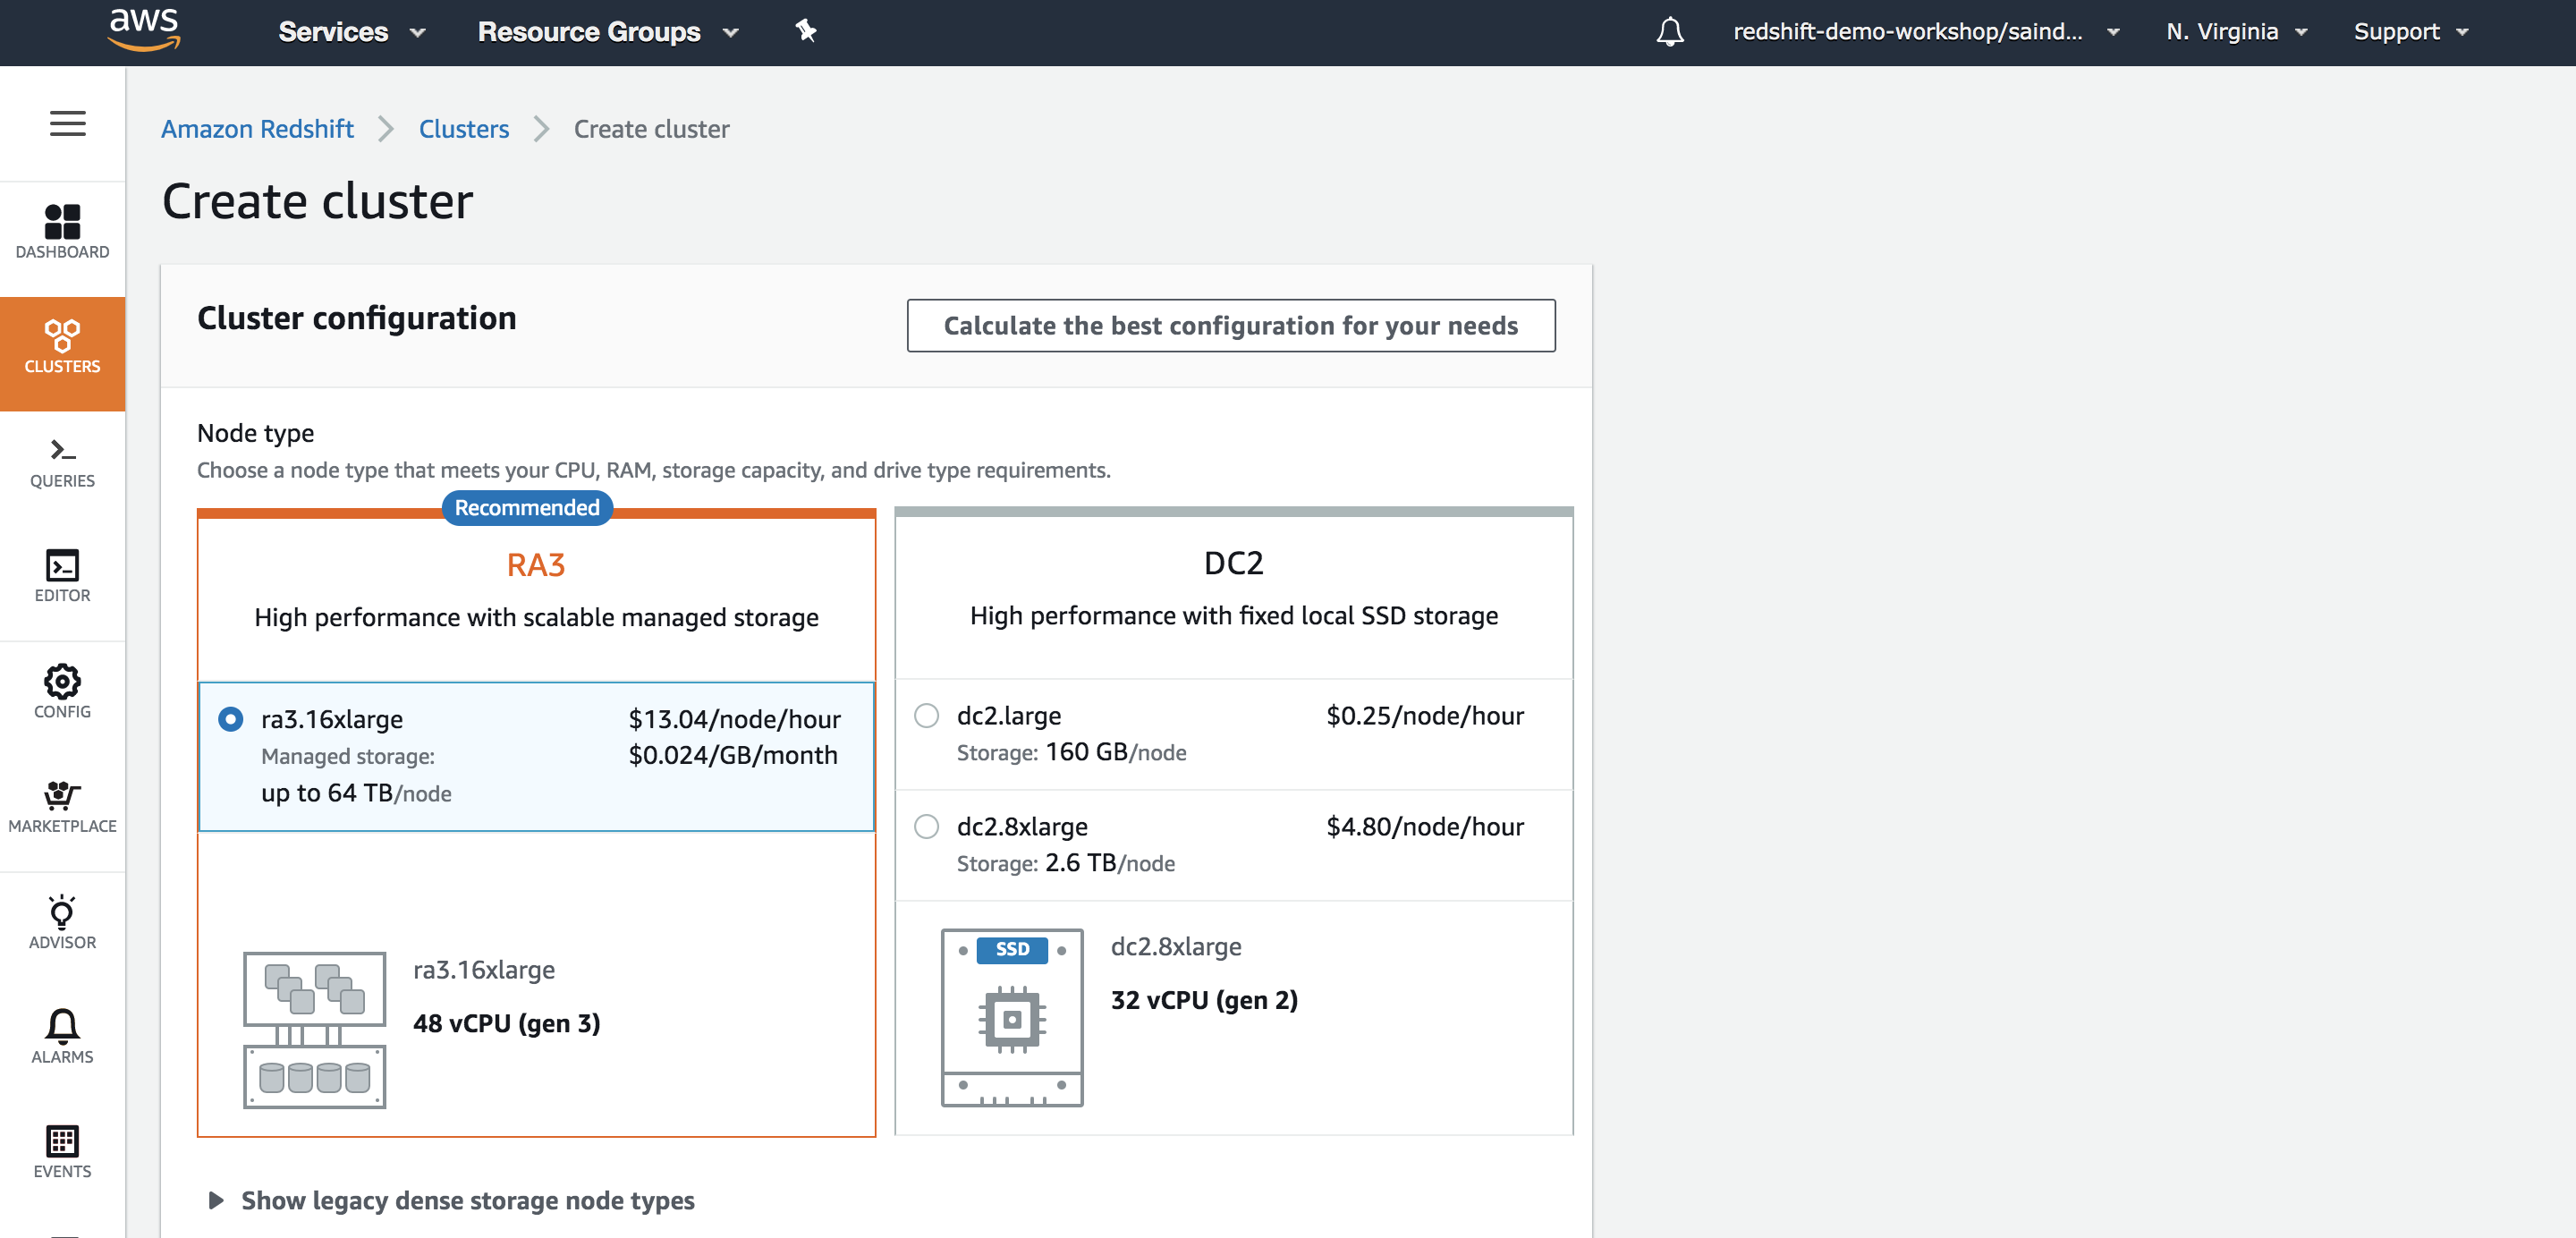
|
|
Enter a value for the Cluster Identifier. You will now be able to choose the number and type of nodes for your data warehouse. Since, the data footprint for this use case is relatively small and because the queries are fairly complex, the dense compute node types can be used. If the data to be stored was large, you could consider using the newer RA3 instances which allow you to scale storage and compute independantly. | Choose the dc2.8xlarge node type | 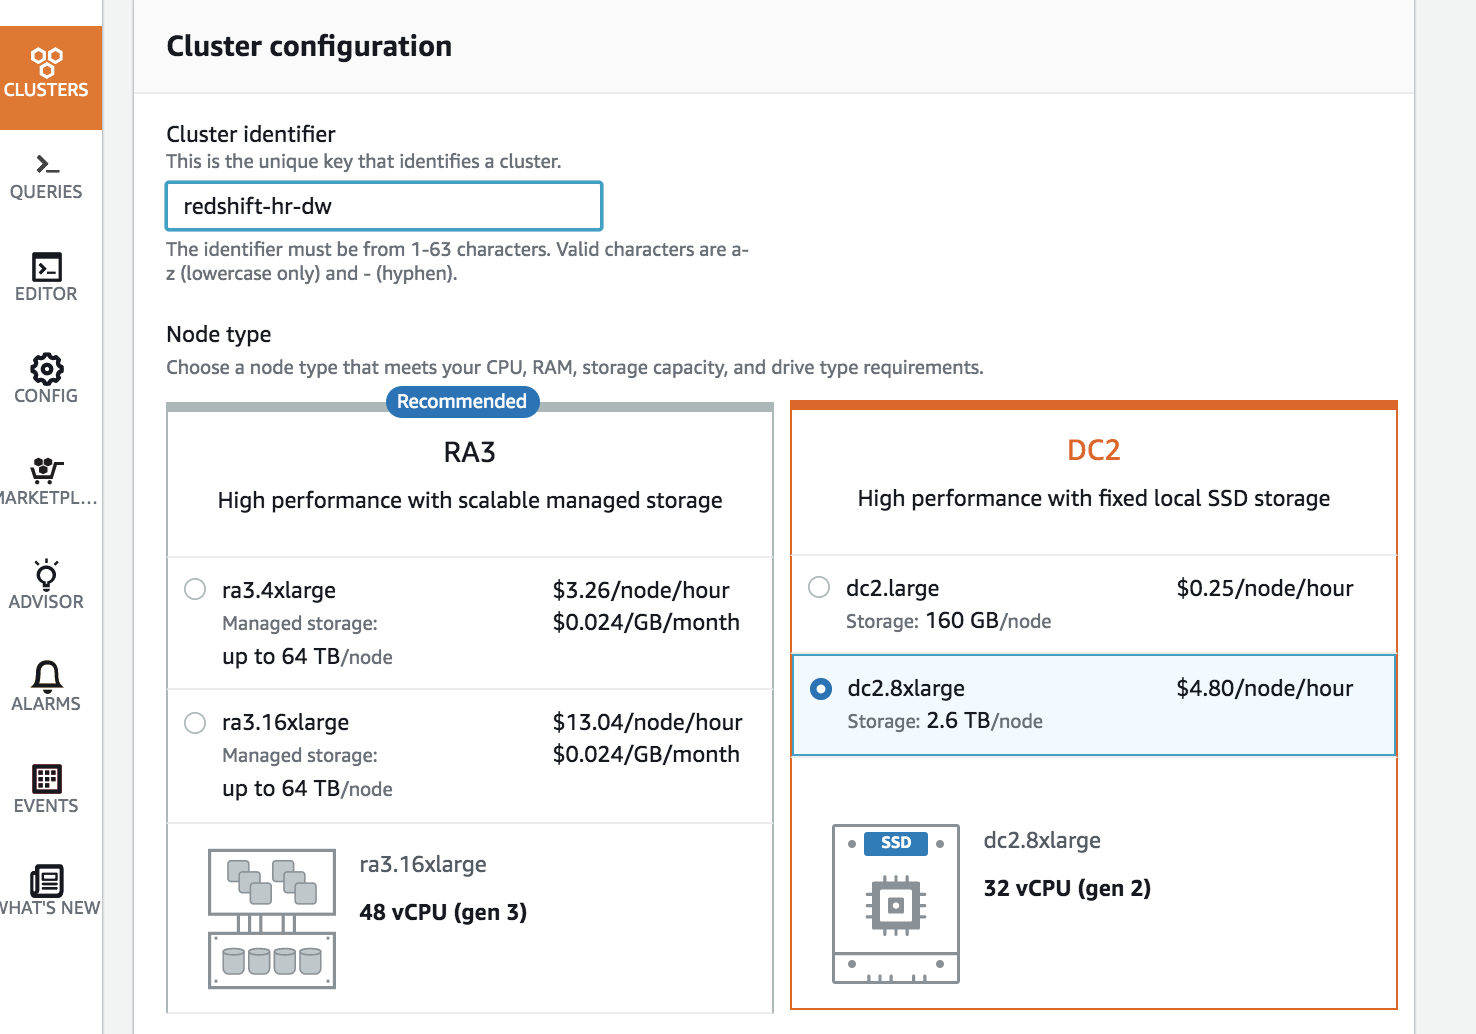
|
|
Each dc2.8xlarge node comes with 2.6 TB of storage space. Since the data to be stored is 10 TB uncompressed and you can expect 3x compression on Redshift, you can choose to use 3 nodes for you cluster. | Enter ‘3’ for the number of nodes | 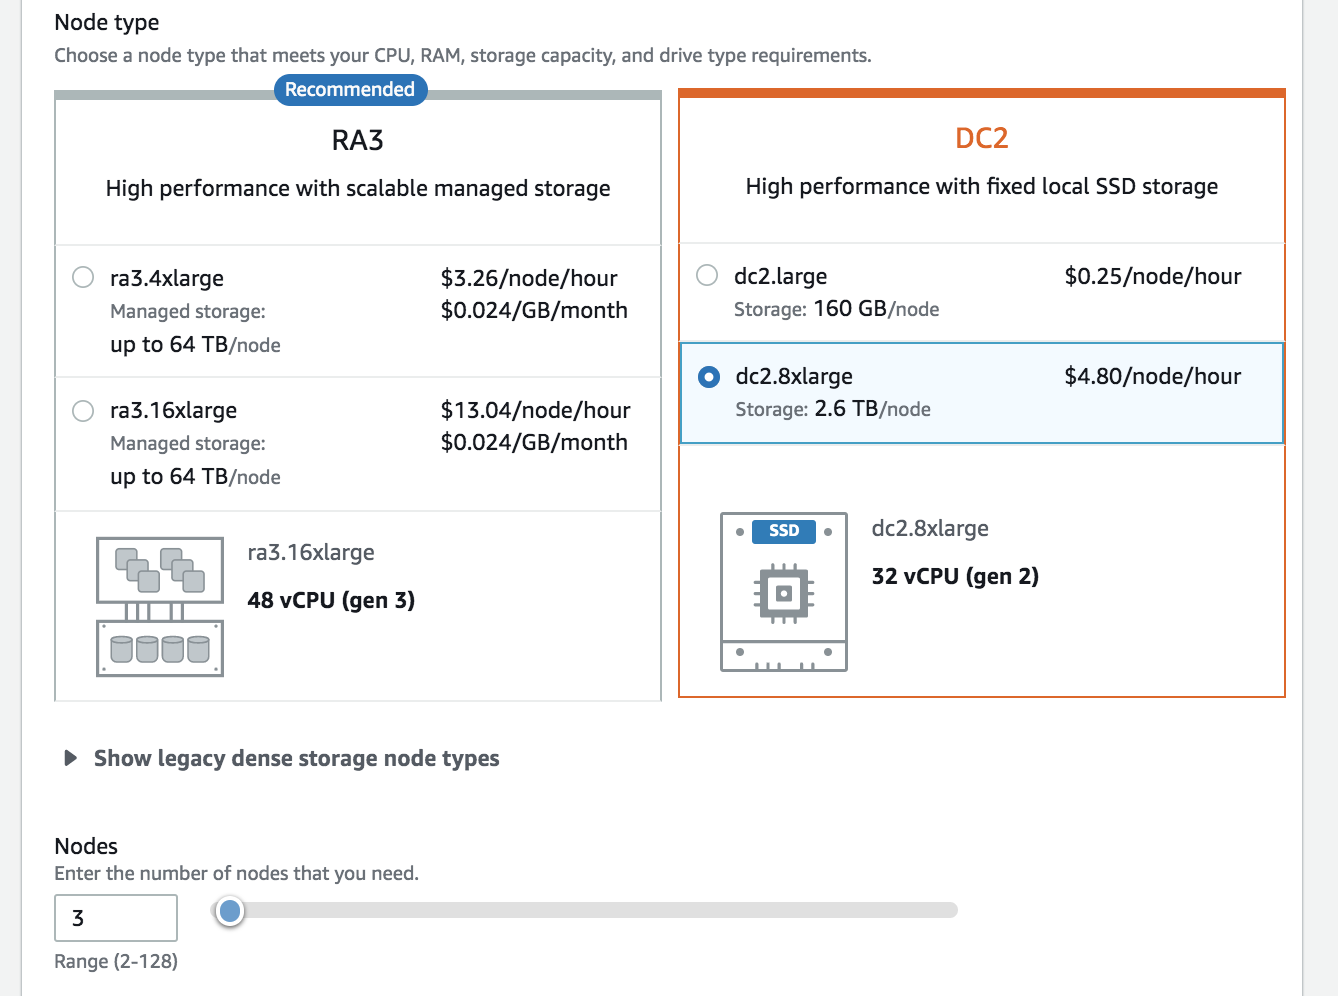
|
|
Now, you can see what the monthly cost and total storage capacity of your cluster is. Let’s enter a n Master User Name and Password for the cluster | Enter values for the ‘Master User Password’. The ‘Master User Name’ can be left as-is. Make note of the user name and password so that you can you can use them to connect to your cluster later | 
|
|
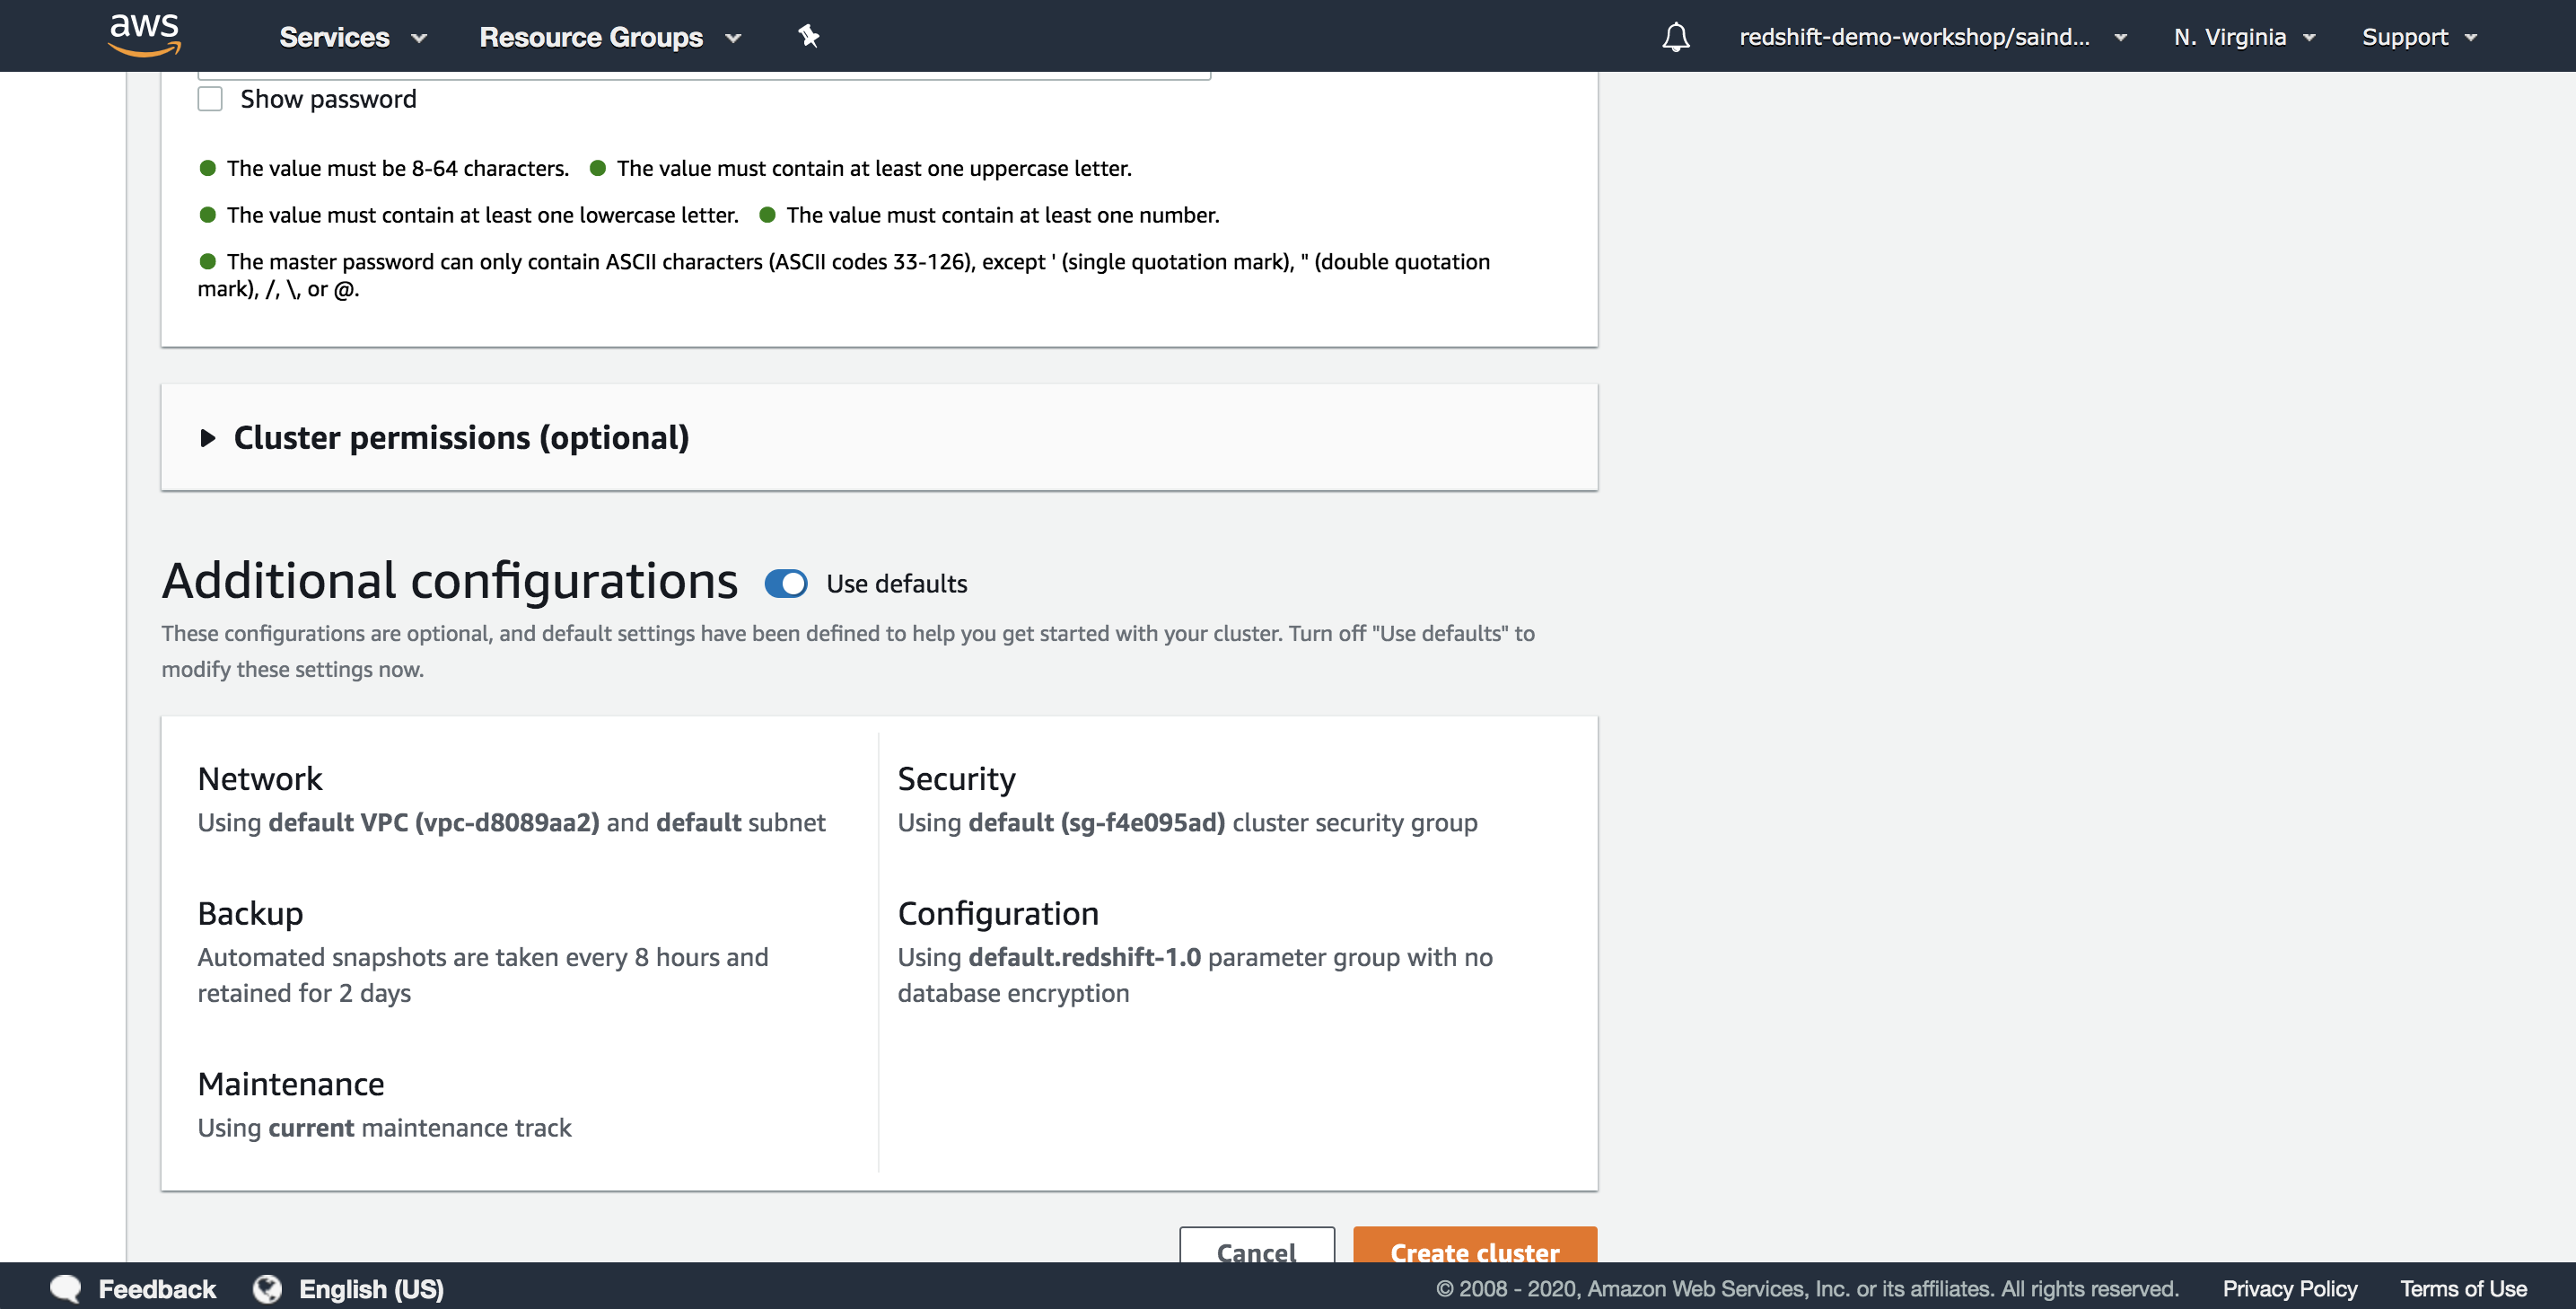
The rest of the options can be left as default for now. Let’s create this data warehouse. | Click ‘Create cluster’ |
|
|
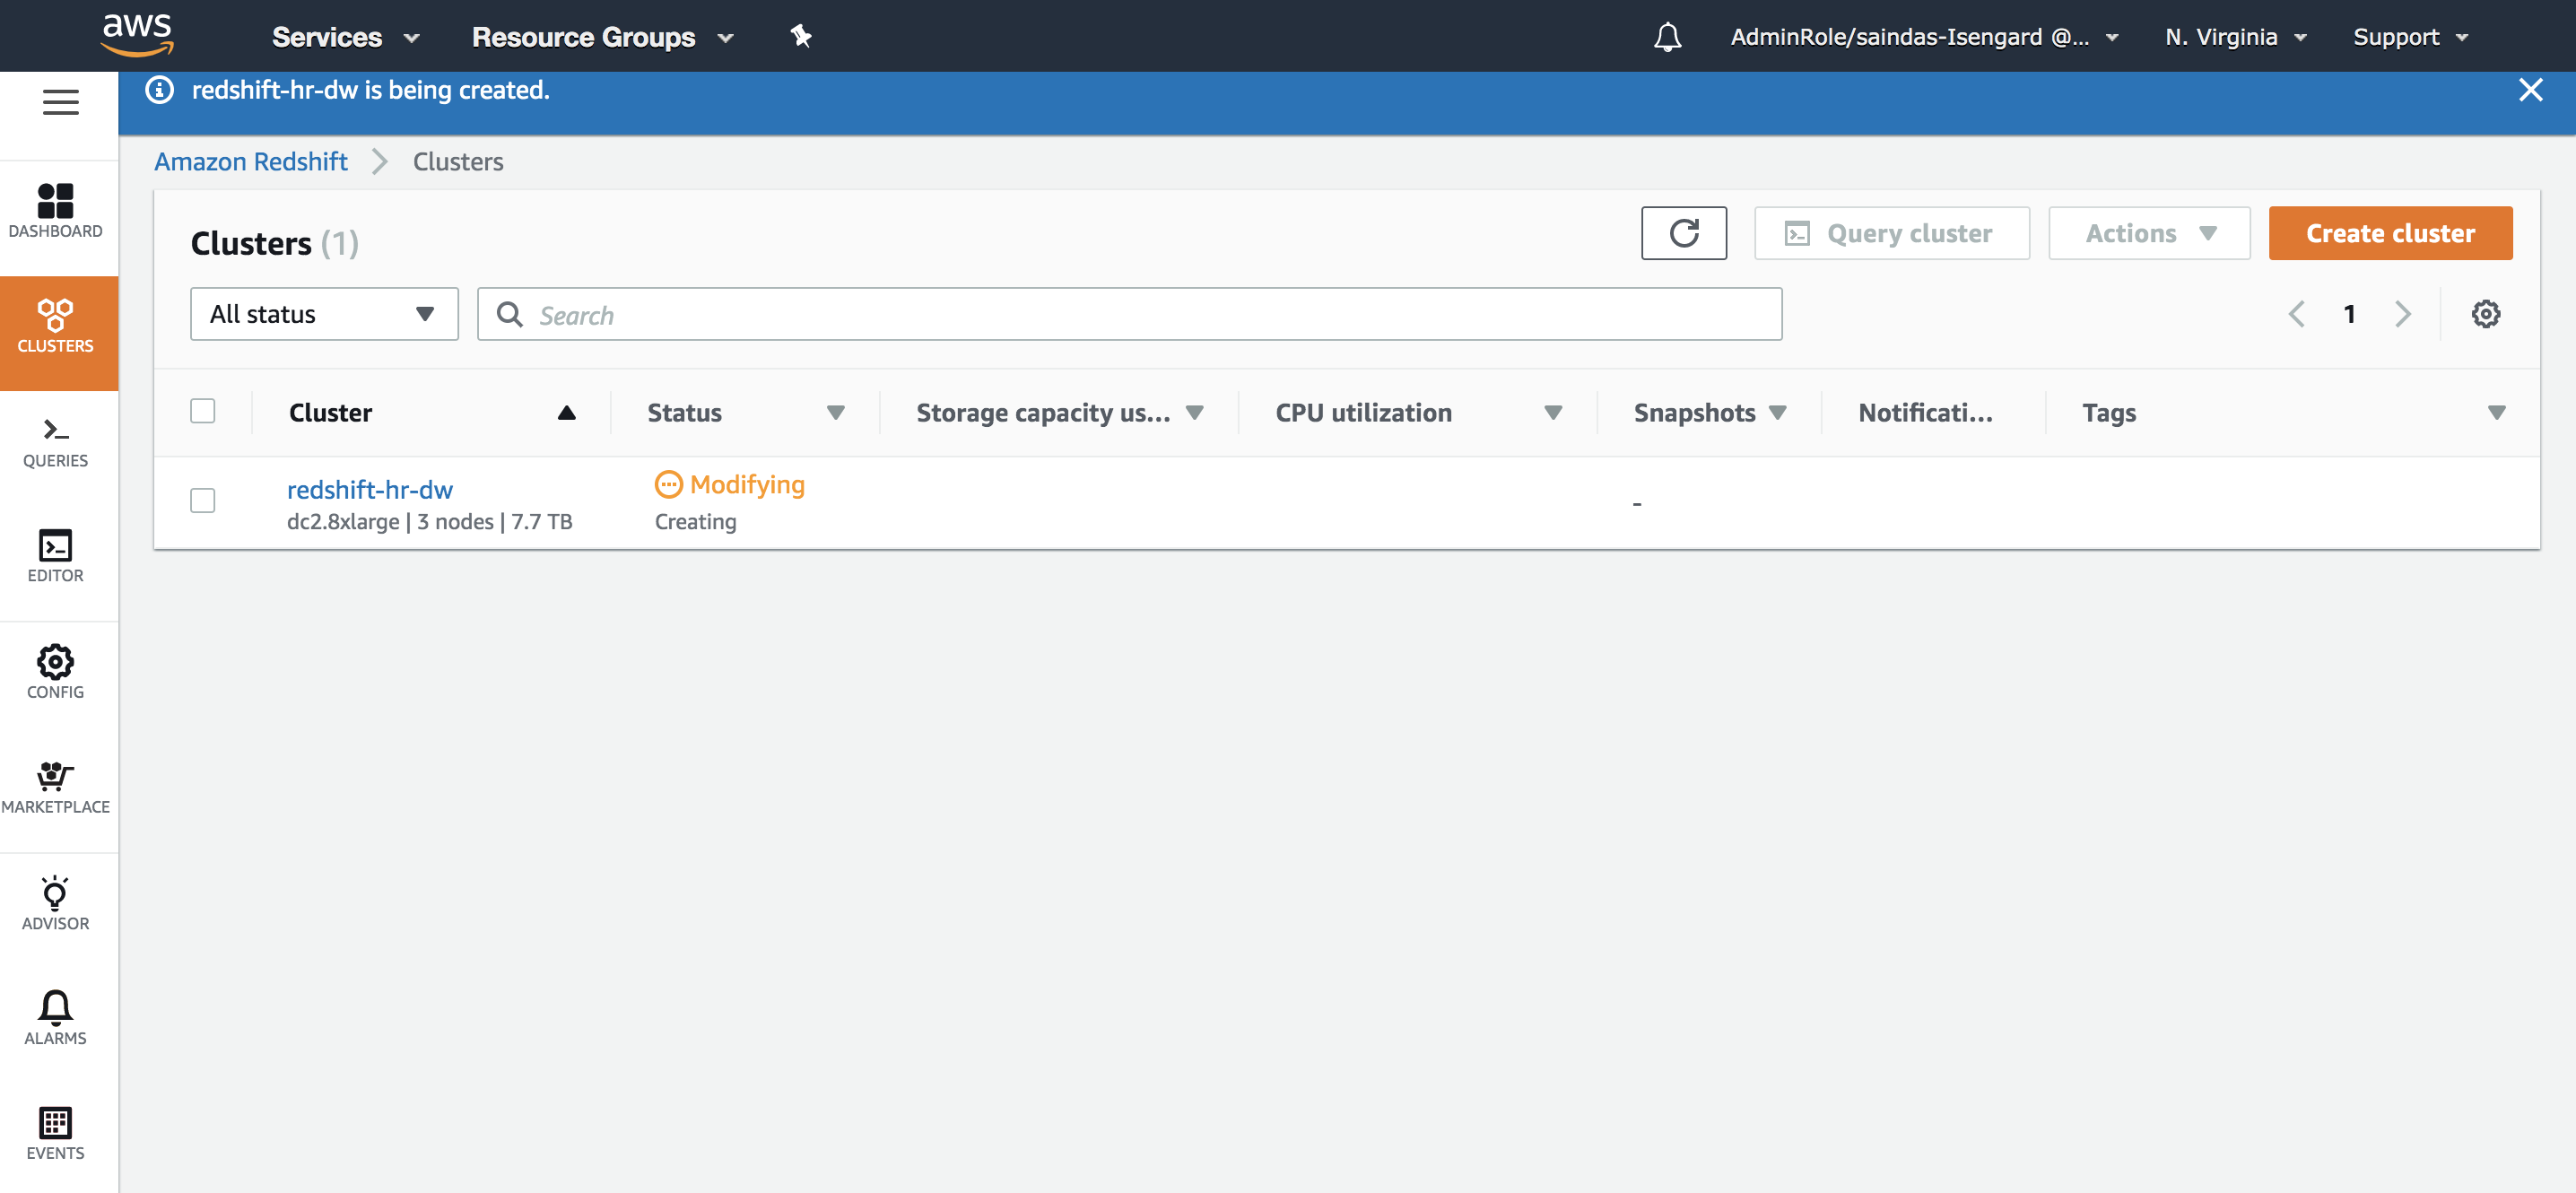
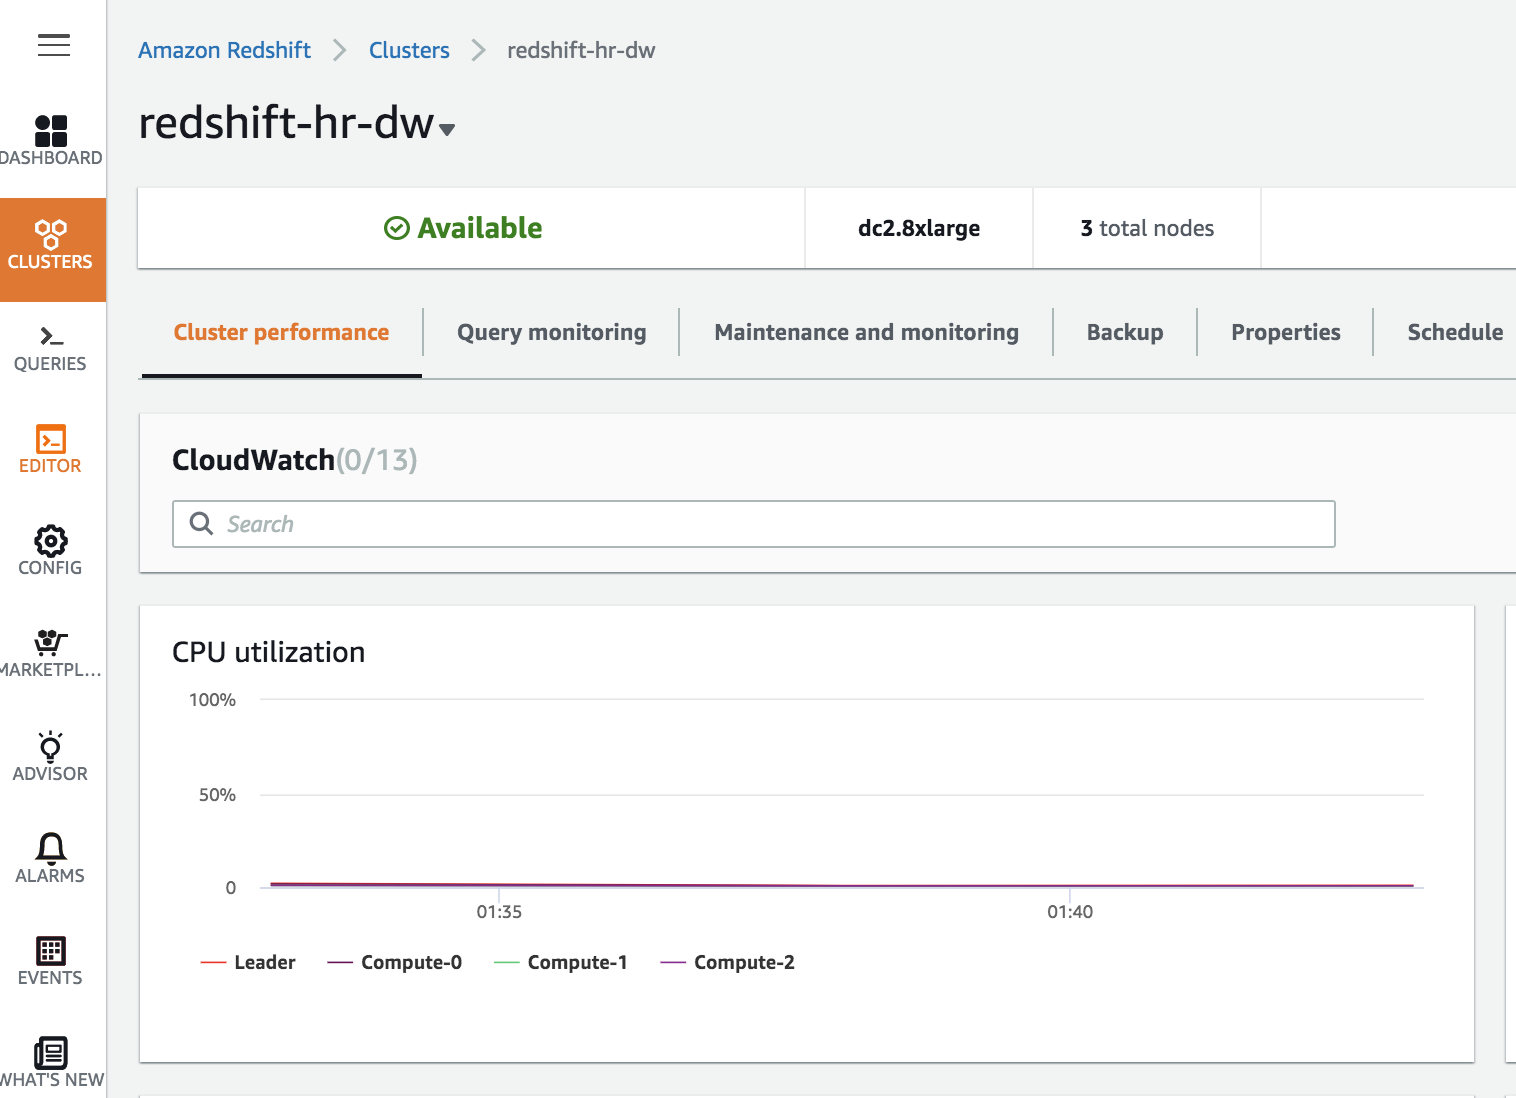
You will now be taken back to the ‘Clusters’ page and you can see that your data warehouse is being provisioned. It is currently in ‘Modifying’ status. It should take a couple of minutes for the status to change to ‘Available’. Once the status is ‘Available’, your cluster is ready for use. | Stay on the page till cluster is ‘Available’. You might have to click the refresh button periodically to see the update. |
|
Connect to the Data Warehouse
| Say | Do | Show |
|---|---|---|
| Now that we have created a Redshift Data Warehouse, let’s try connecting to it and run some queries on it using the Query Editor on the Redshift Console | Click on Query Editor on the left panel to navigate to https://console.aws.amazon.com/redshiftv2/home?region=us-east-1#query-editor: |
|
| Enter the Master username and Master password that you chose when creating the Redshift Cluster. | Click ‘Connect to Database’ |
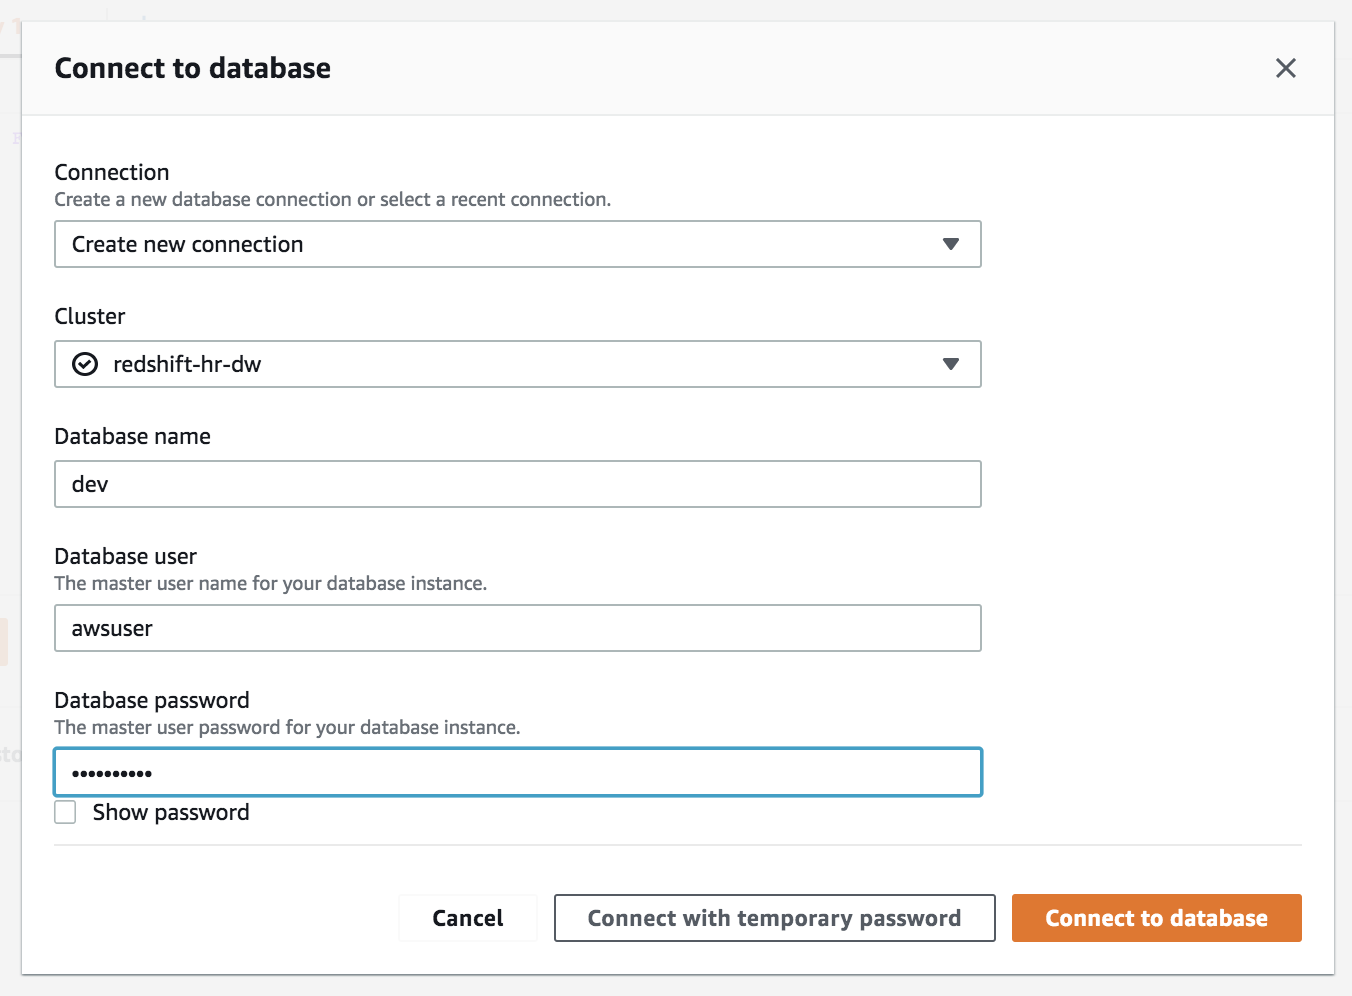
|
|
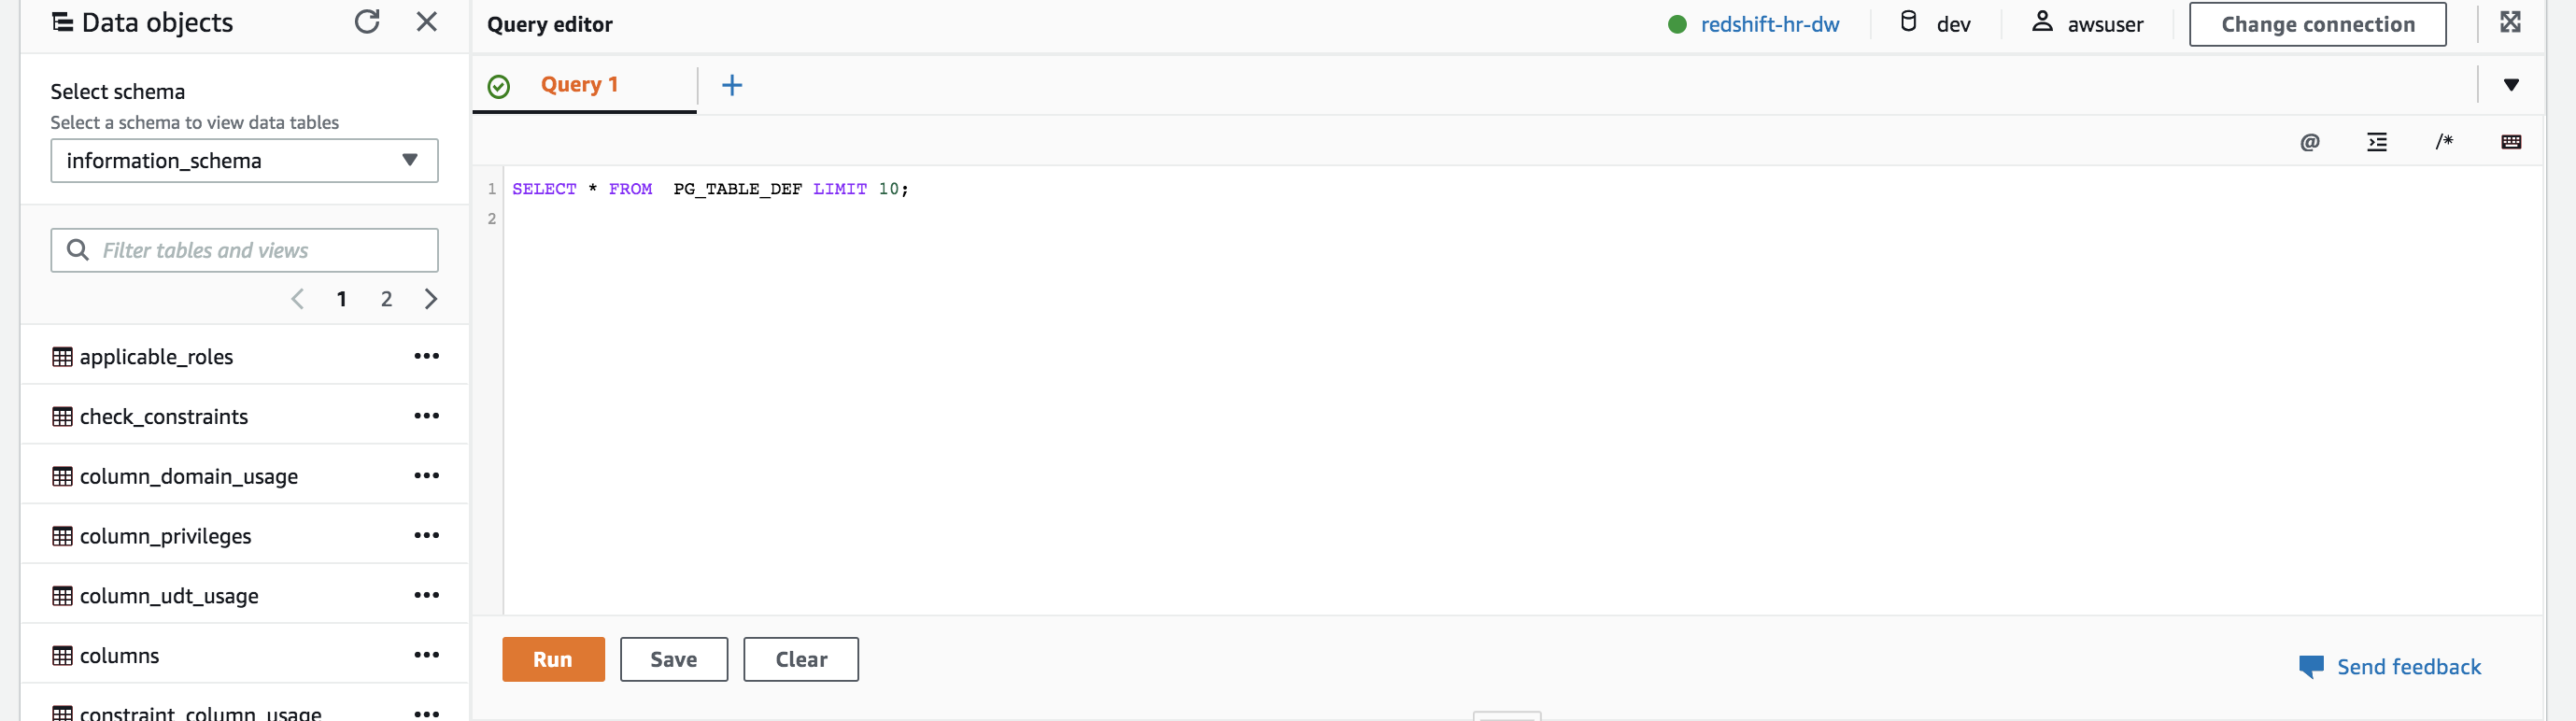
The Redshift Query Editor allows users to run queries against tables on the Data Warehouse. Since we do not have any tables created on this cluster. We will try querying a system table. | Type the below SQL into the Query Editor and click ‘Run’
| 
|
|
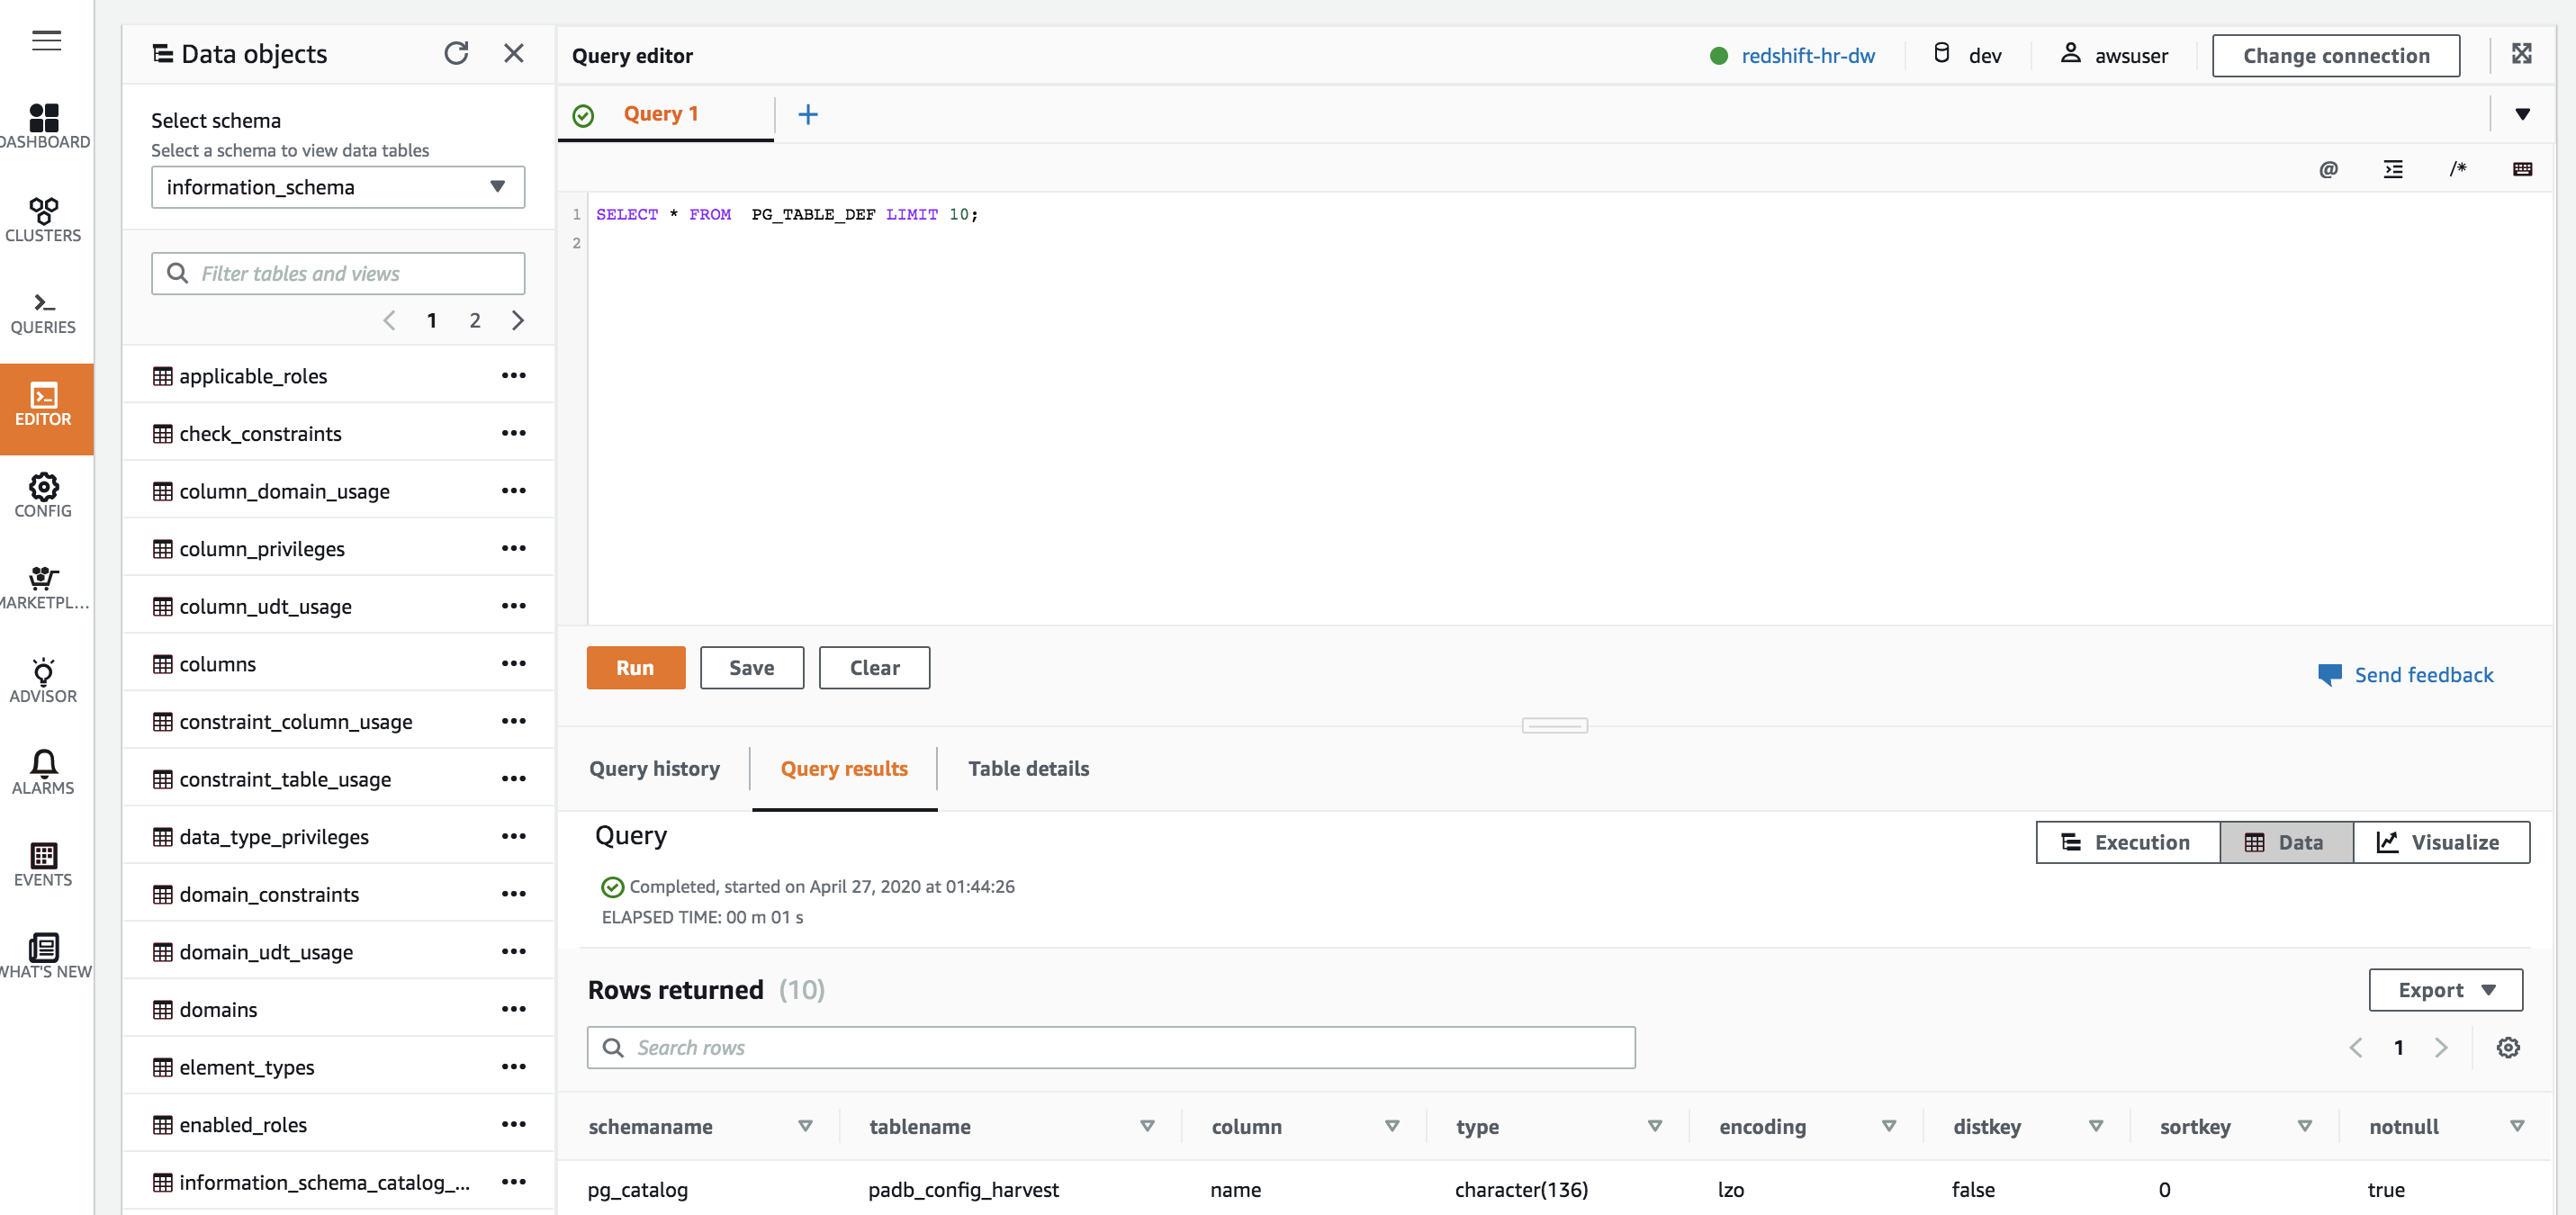
Once the query is completed, you will see a ‘Completed’ message and below that under ‘Query Results’ you will see the results fo the query you executed. | Scroll down to see the query results under the Query Editor | 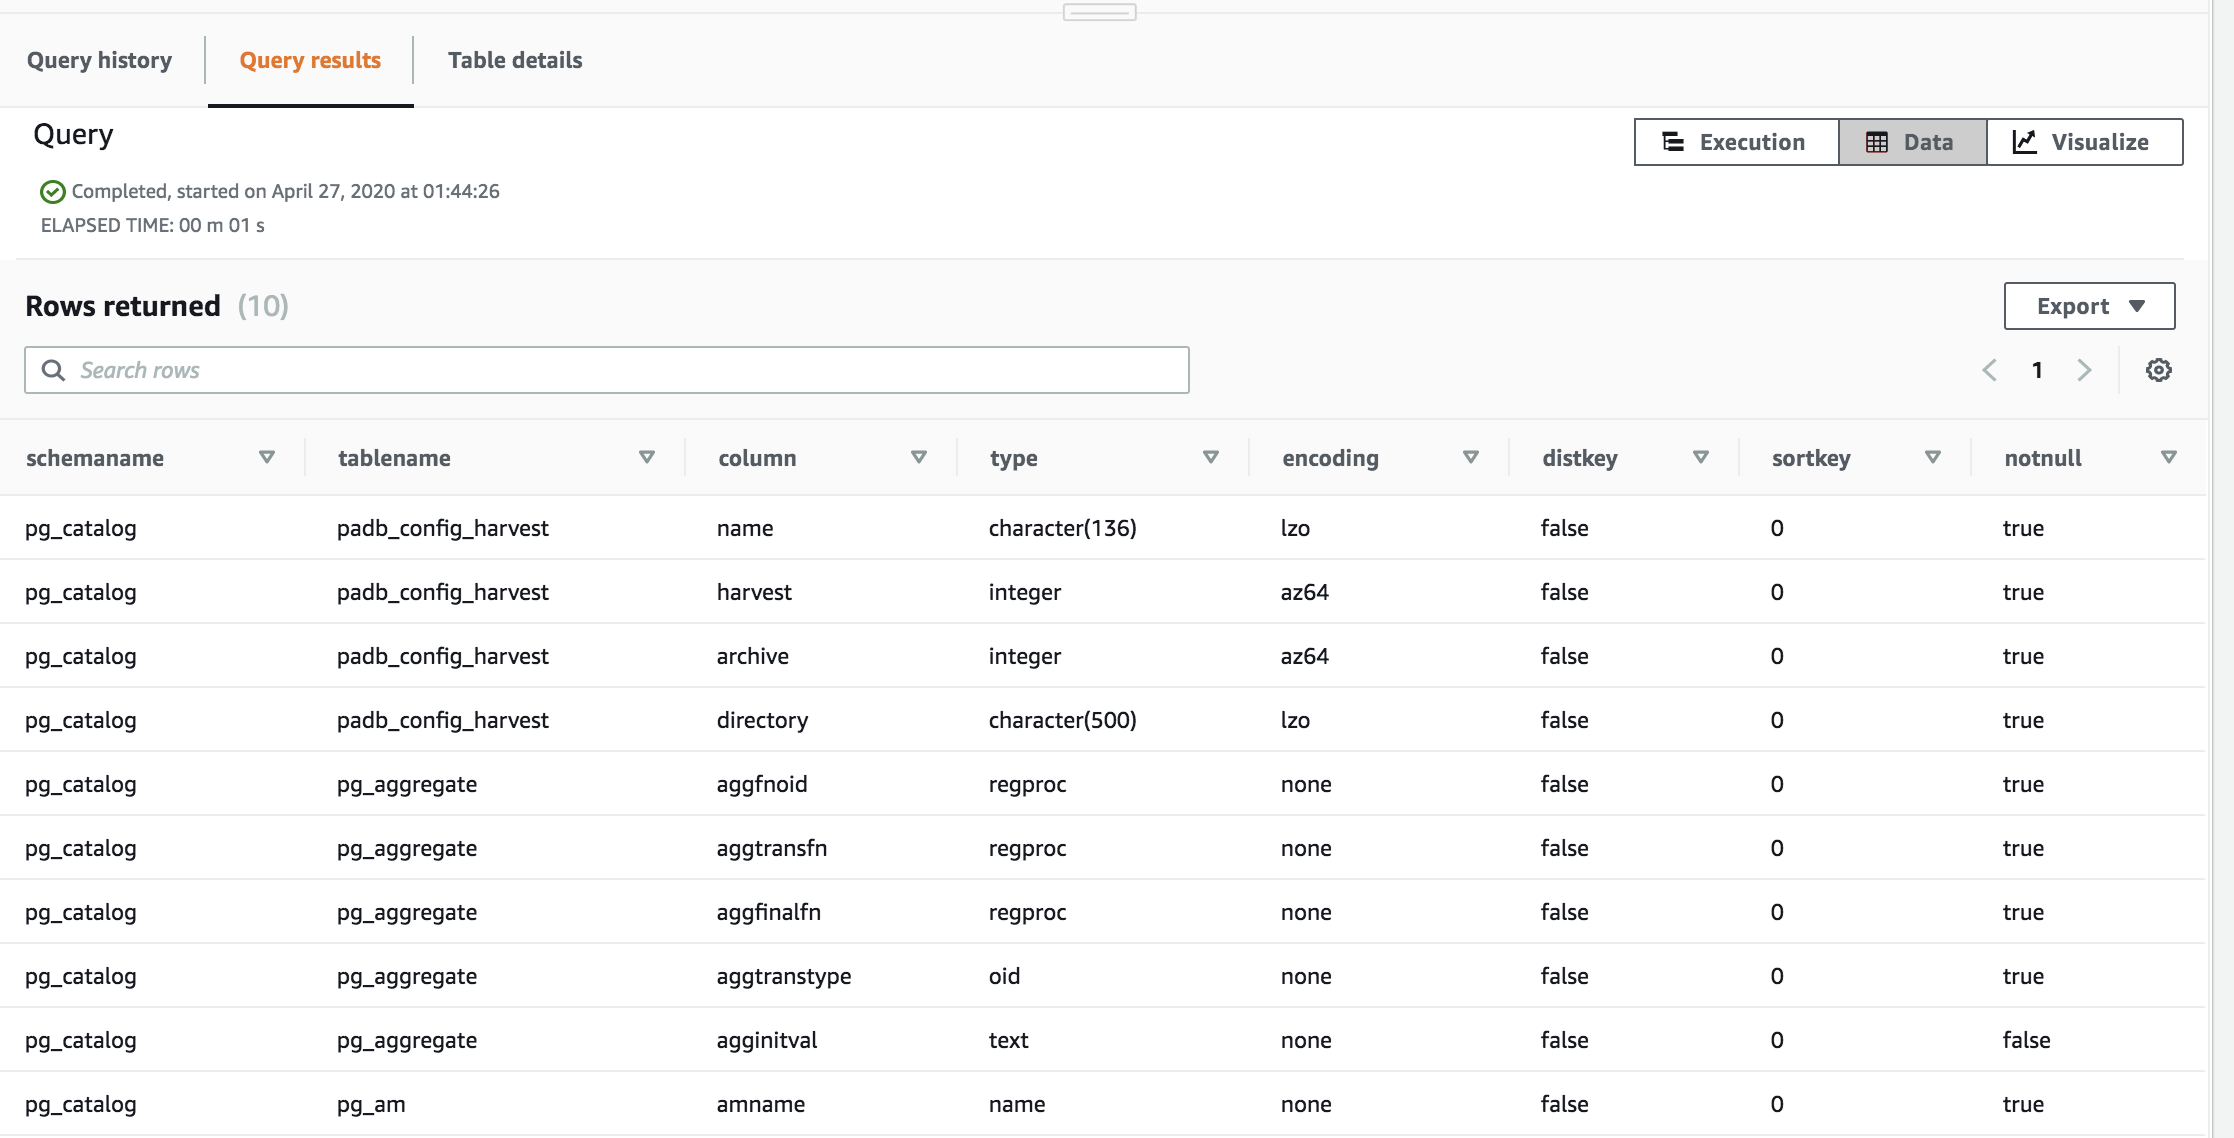
|
|
Your Redshift Cluster is up an running and you are able to execute queries against it. |
|
Before You Leave
Delete the cluster you just created by going to Clusters > Actions > Delete